Tagging
Tag Editor
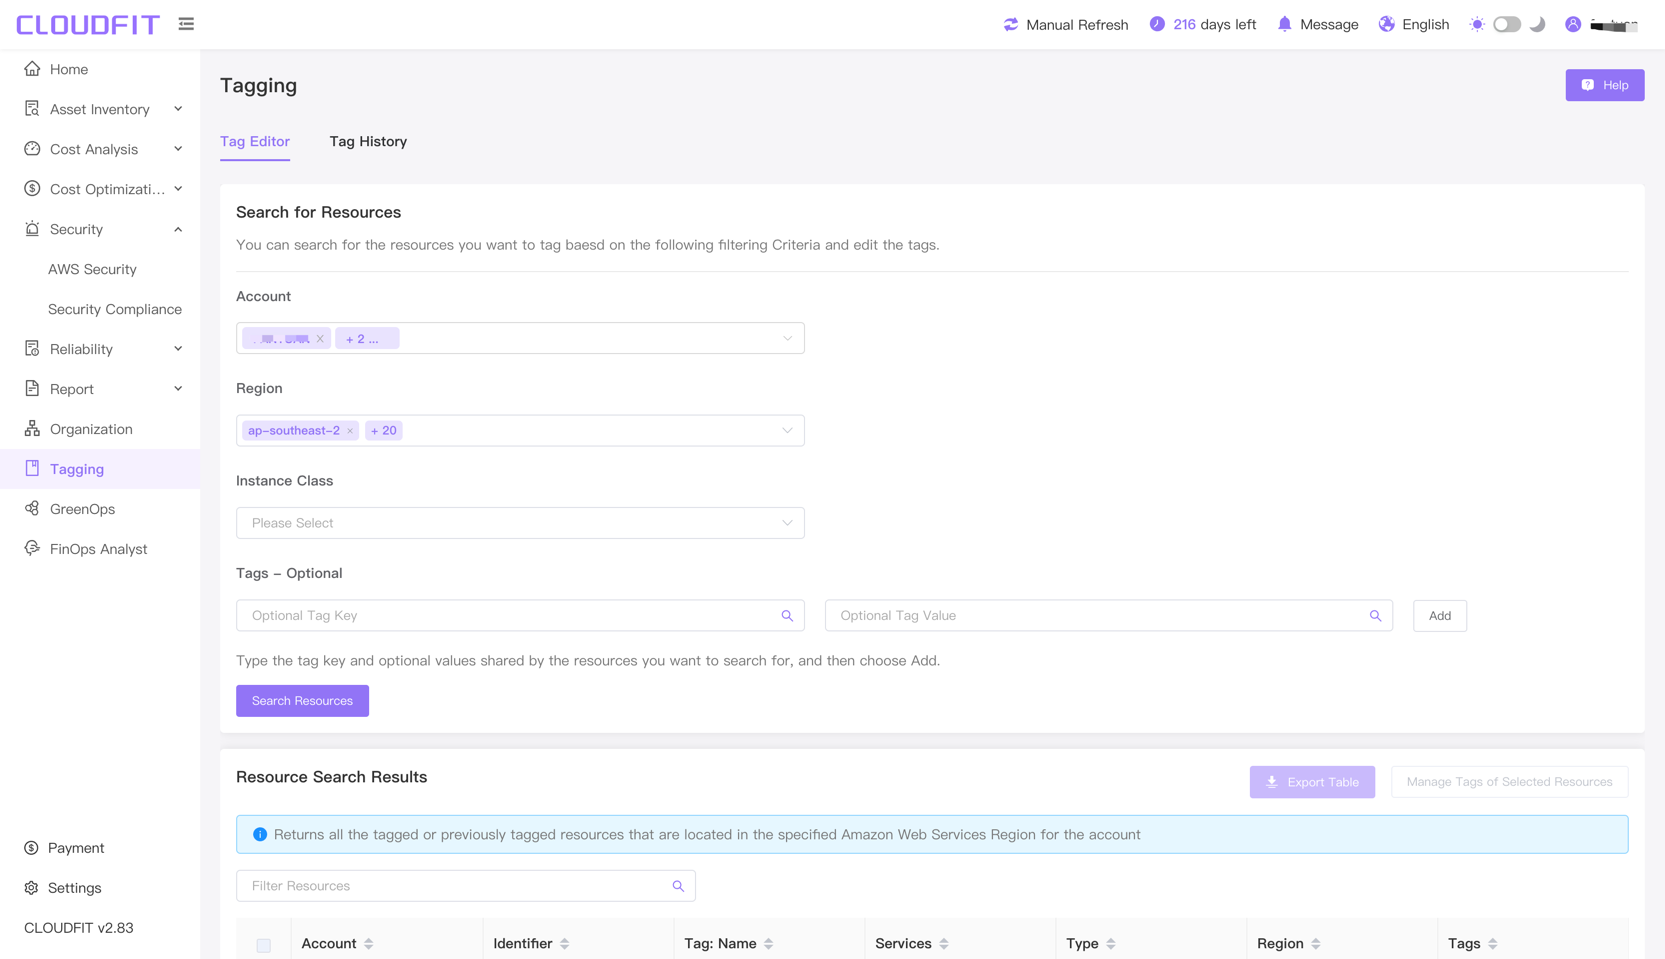
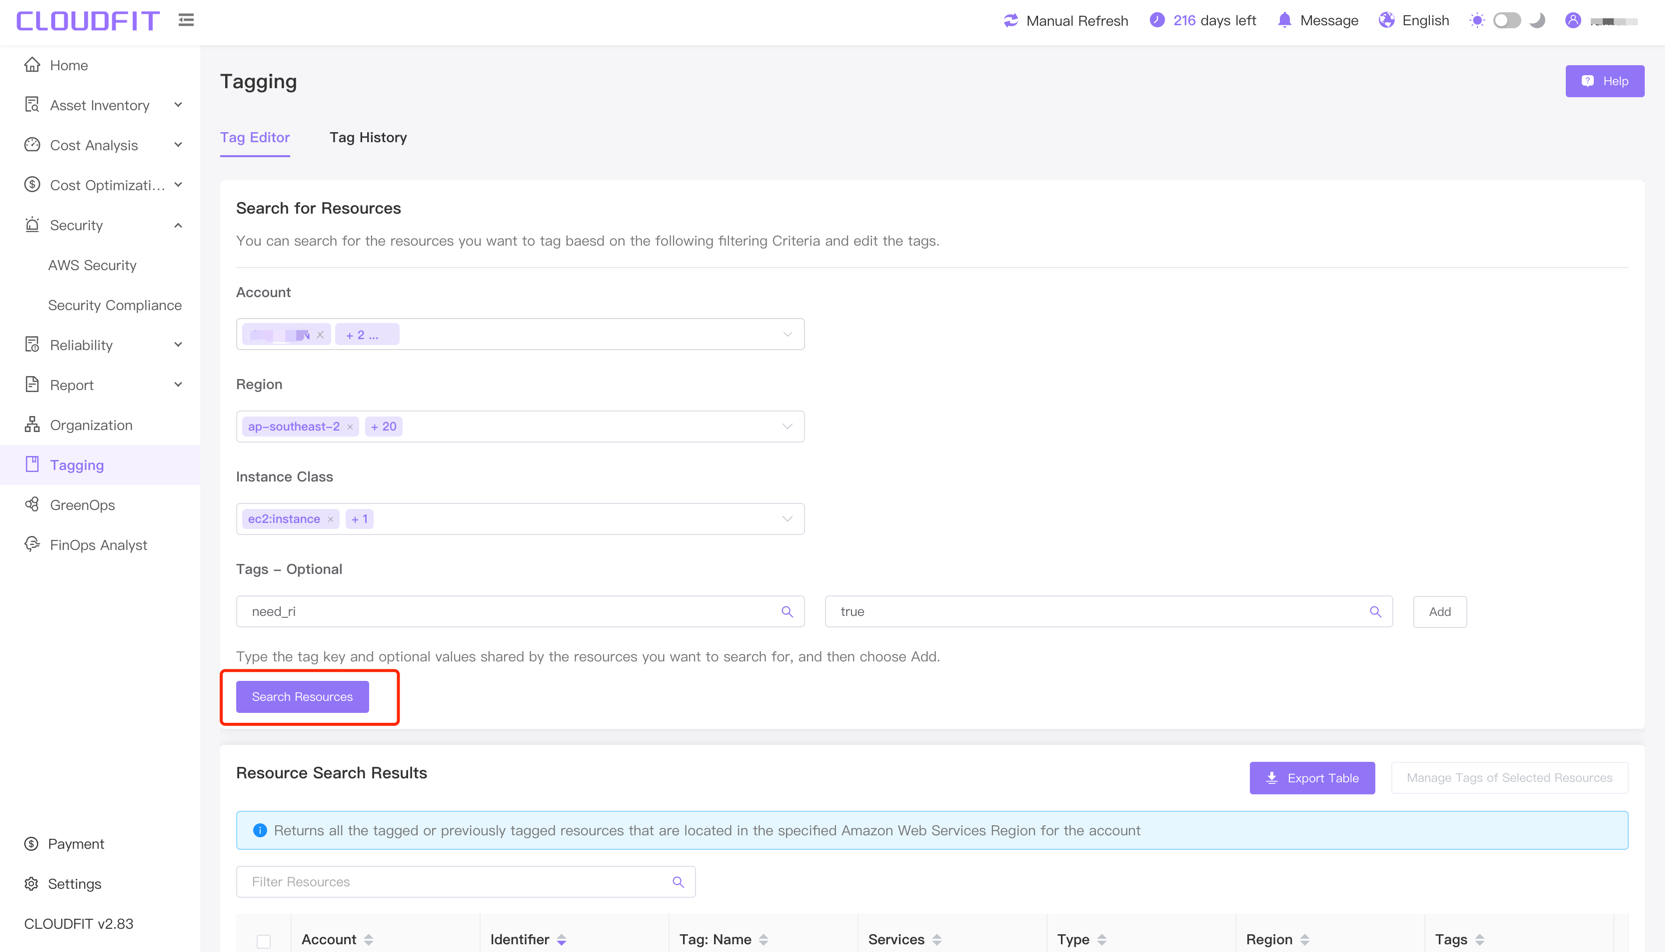
Click on Tags in the left navigation bar to enter the Tags page, as shown below:
Search Resources
TIP
You can search for resources to tag and edit tags based on the following filter criteria.
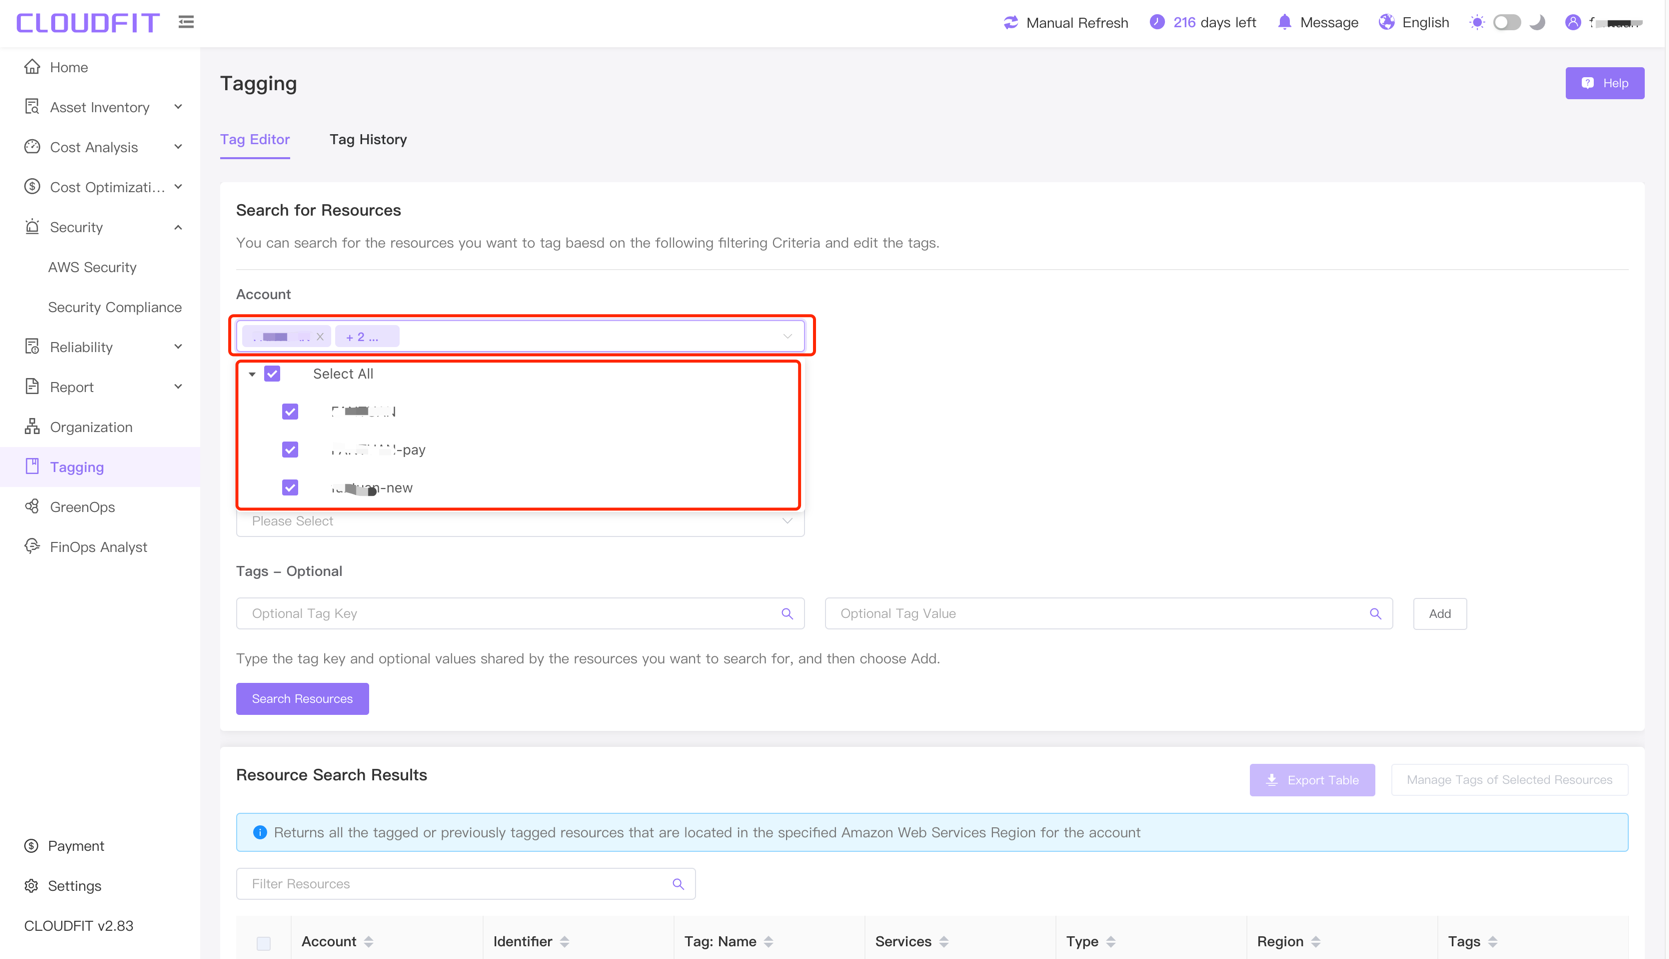
Account Filter
Click on the account filter to view resources from one or multiple accounts, as shown below:
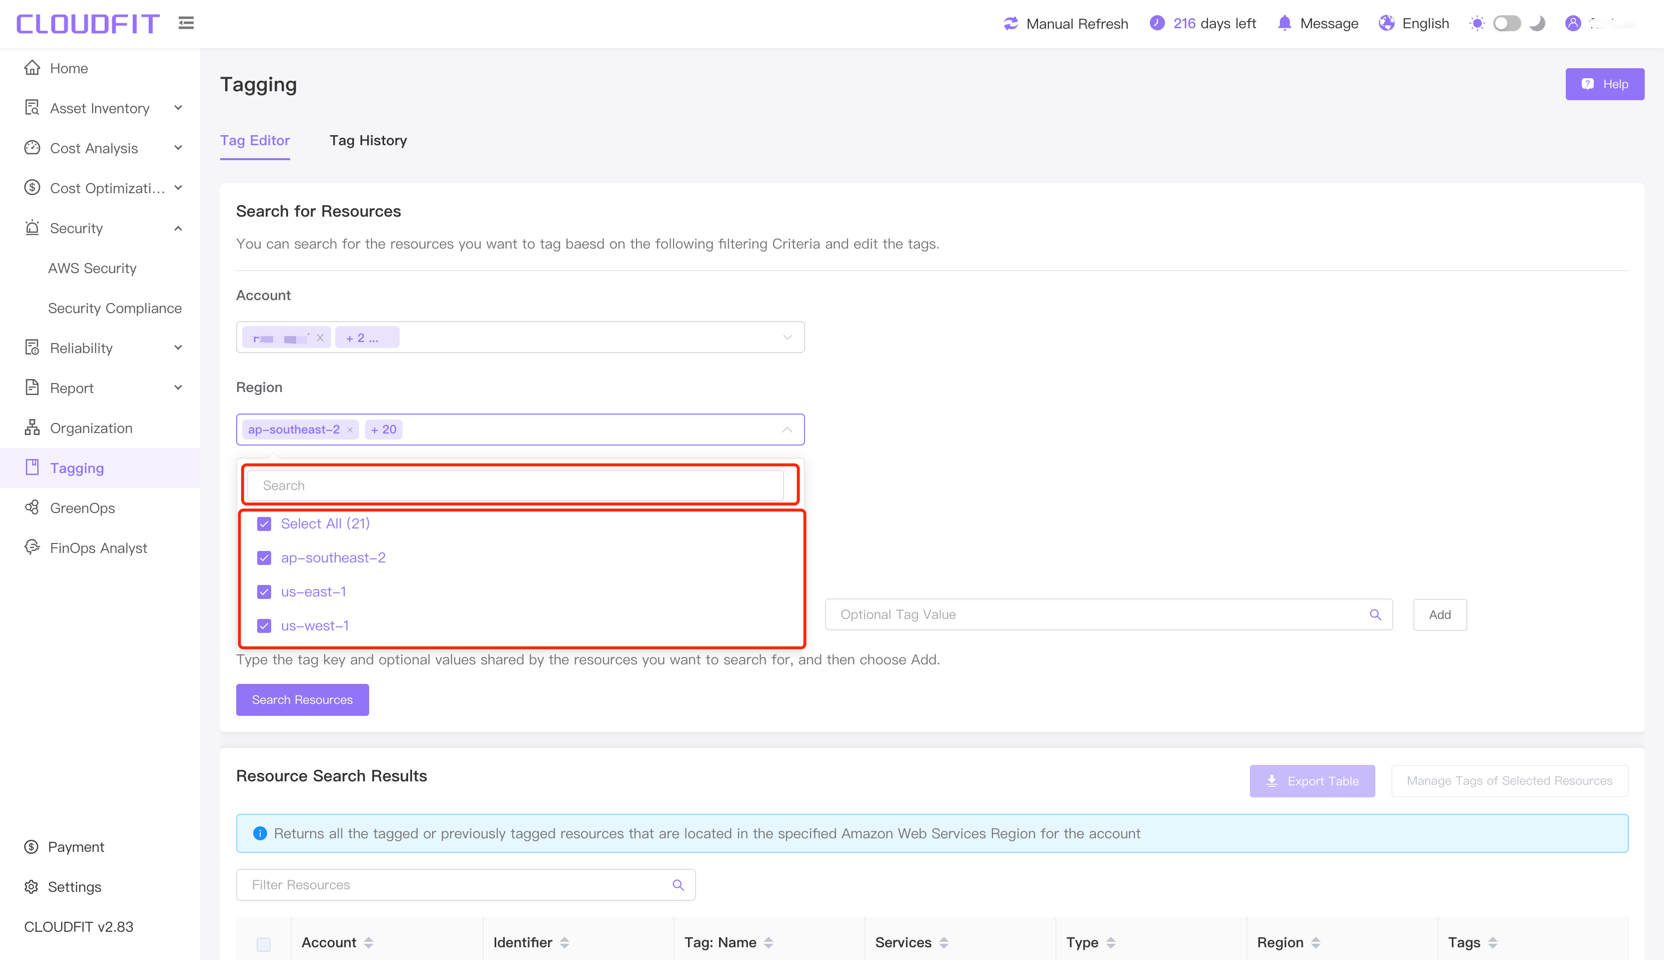
Region Filter
Click on the region filter, enter the region name in the search box for precise search, and select the region after the search is complete, as shown below:
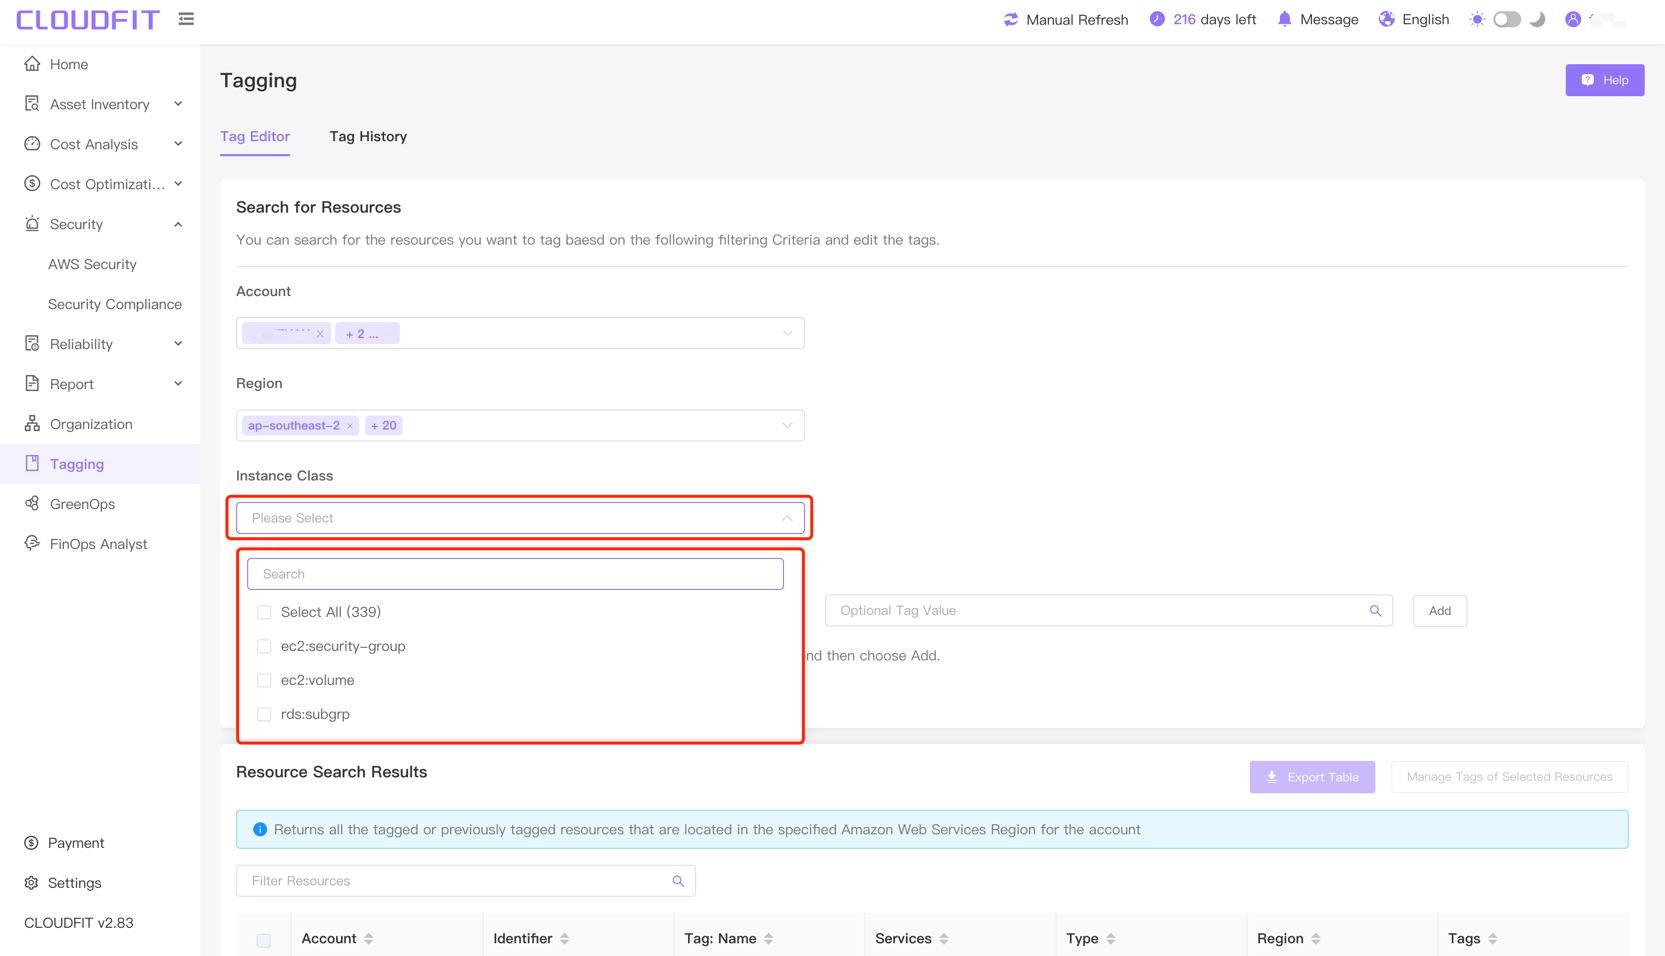
Instance Class Filter
Click on the Instance Class Filter, enter the resource name in the search box for precise search, and select the resource after the search is complete, as shown below:
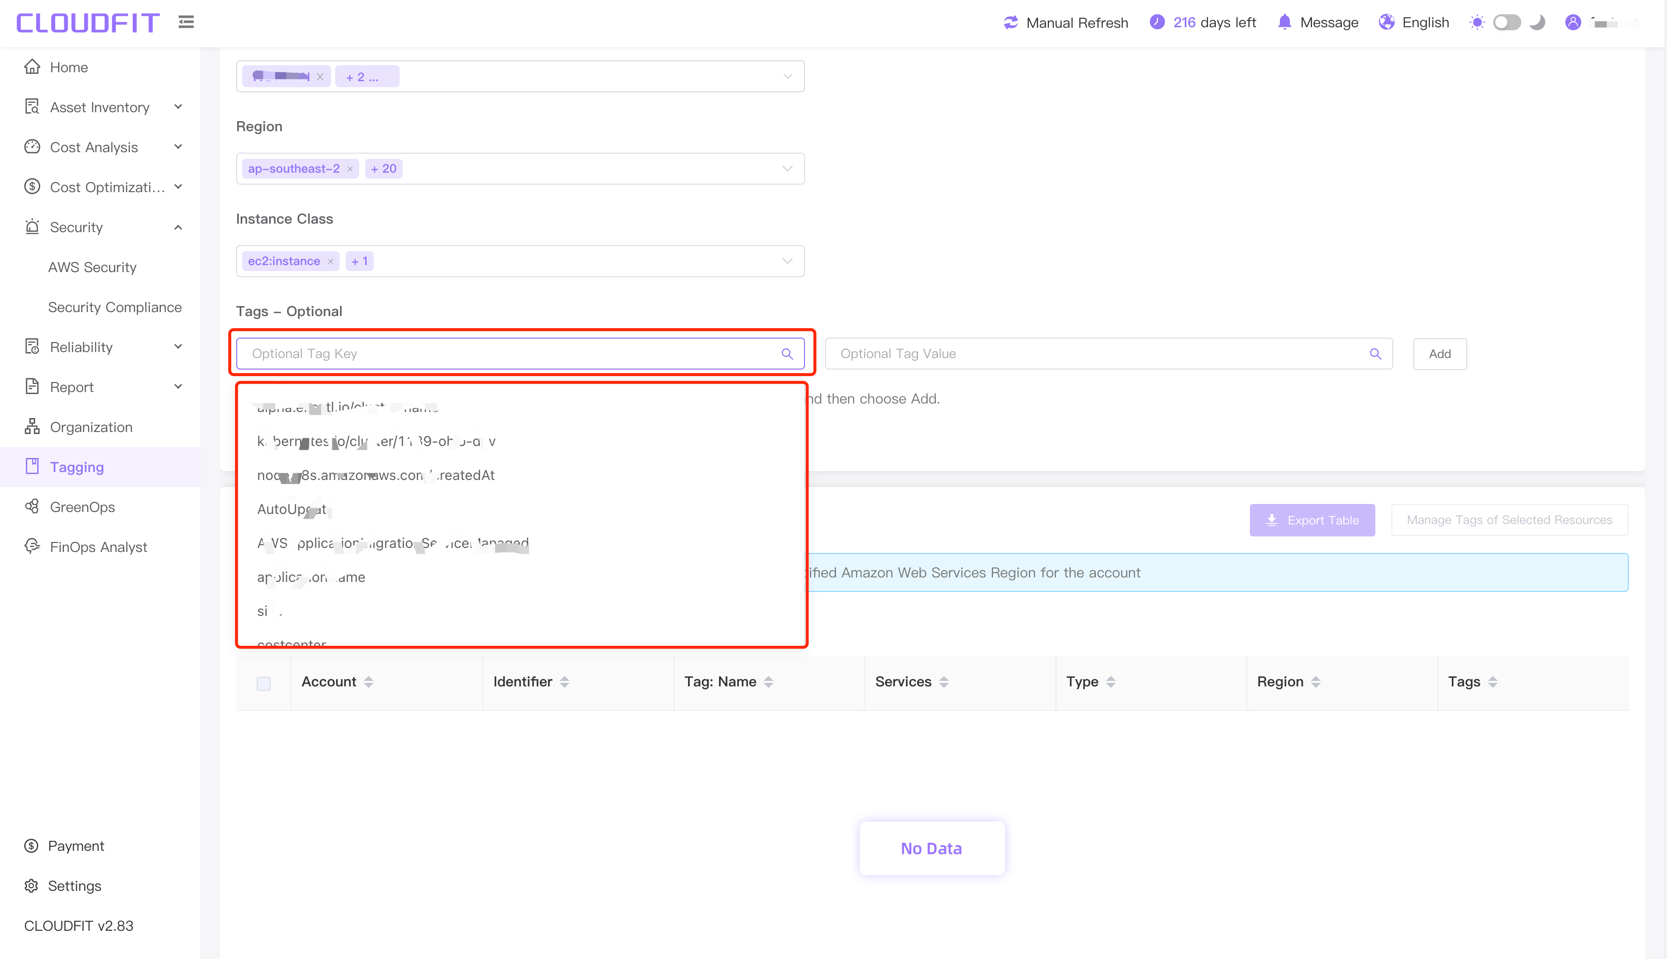
Tags Optional
After entering or selecting a tag key in the tag search box, you can enter or select a tag value in the tag value search box for a precise search, as shown below:
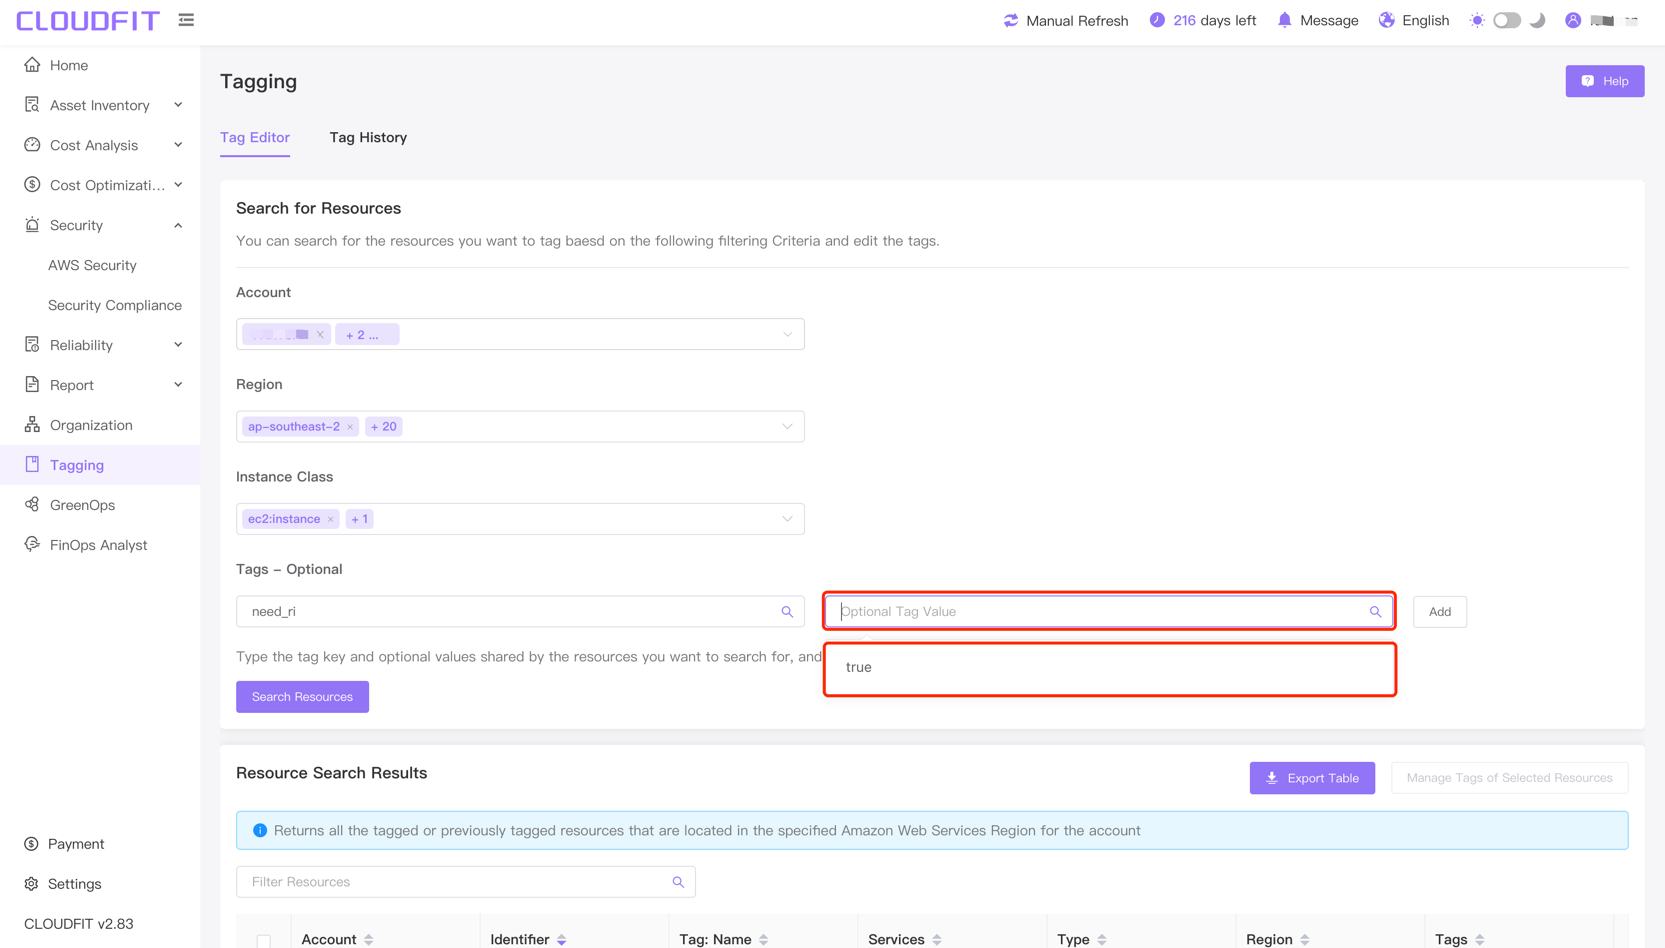
TIP
Enter the tag key and optional values shared by the resources you want to search for, then select Add.
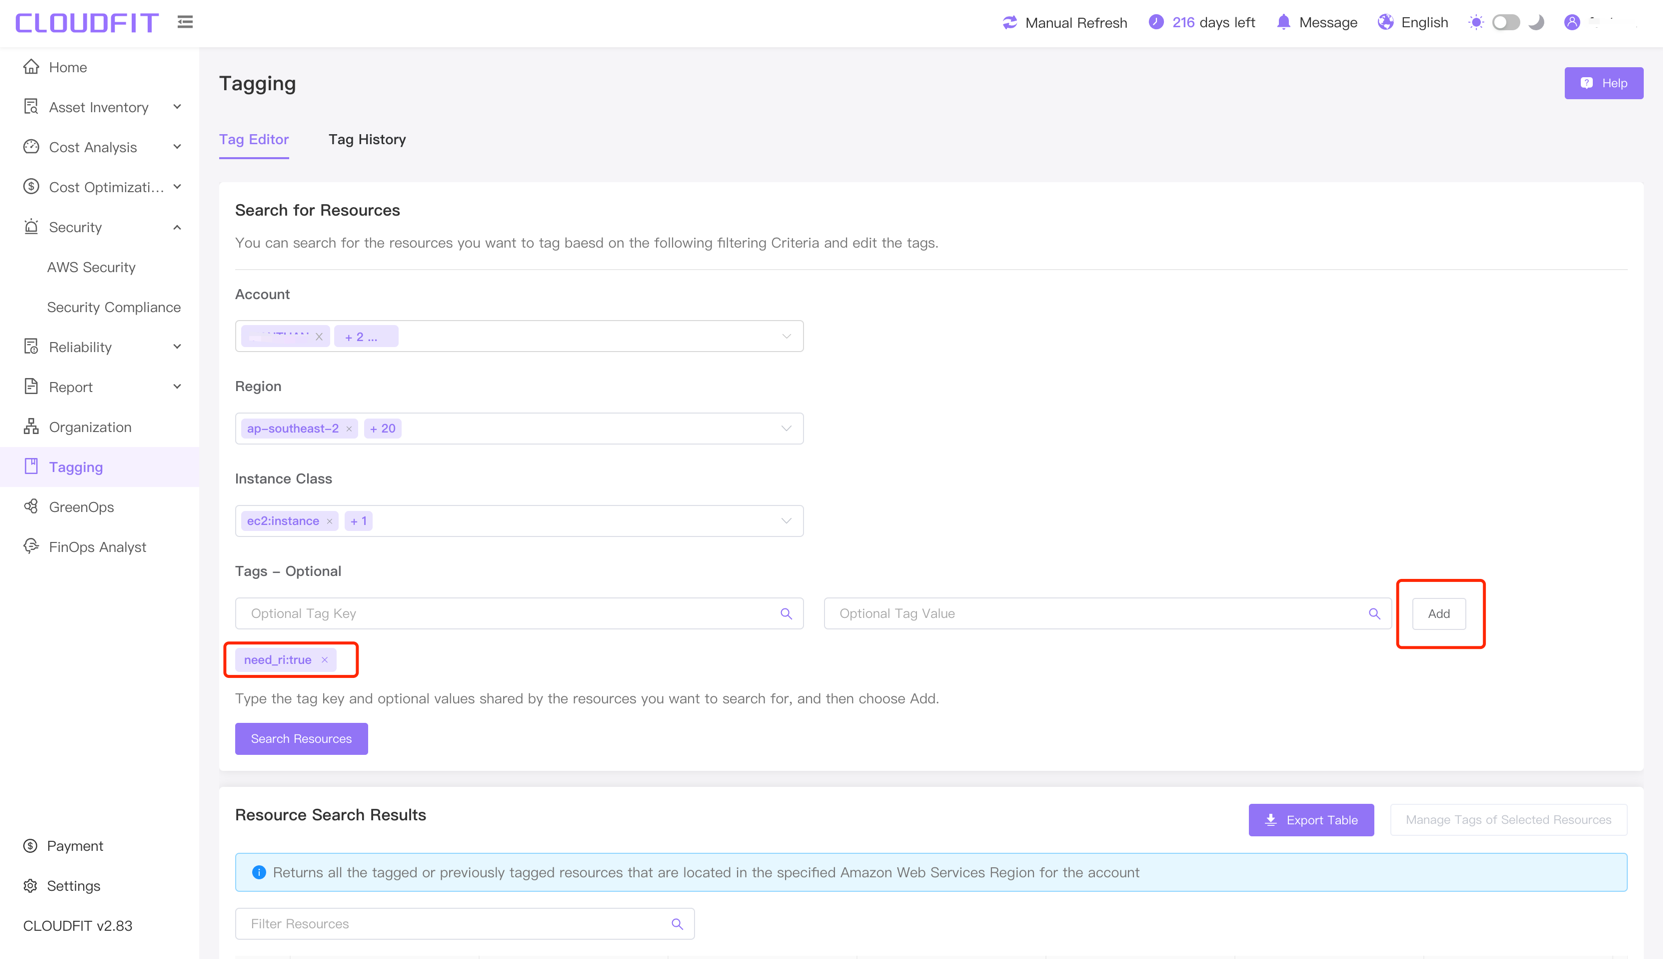
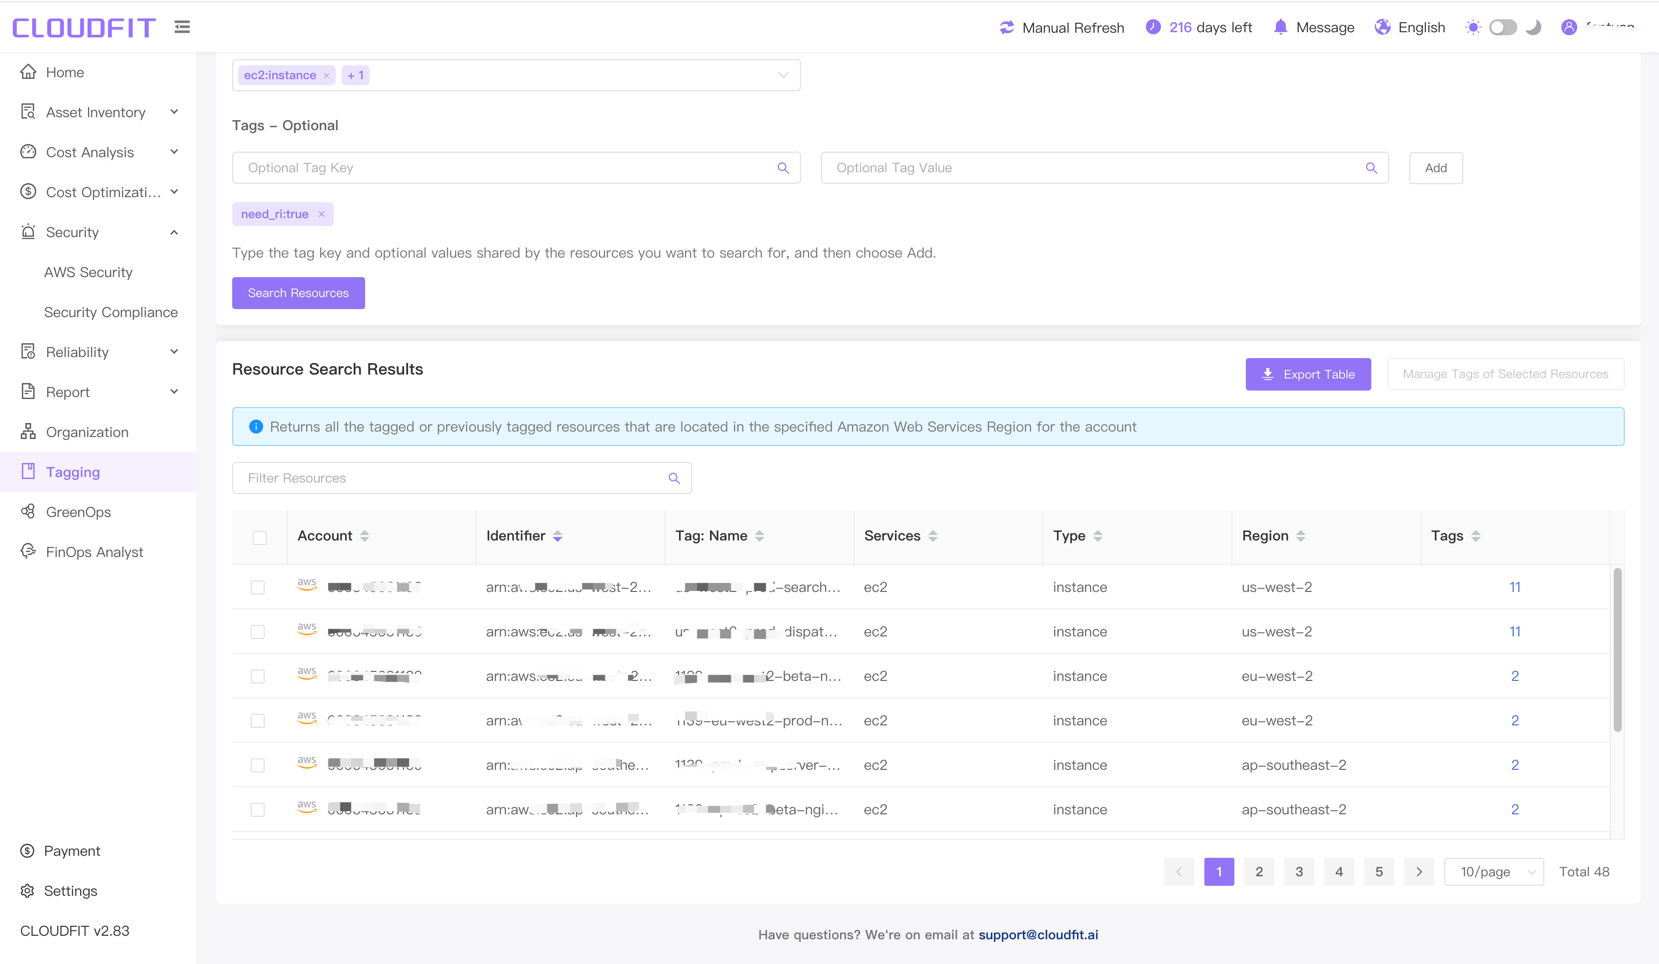
After clicking the Add button, as shown below:
Resource Search Results
TIP
Returns all tagged or previously tagged resources for the accounts in the specified Amazon Web Services region.
After completing the search information, click Search Resources in the lower left corner, as shown below:
After clicking the Search Resources button, the resource search results will be displayed, as shown below:
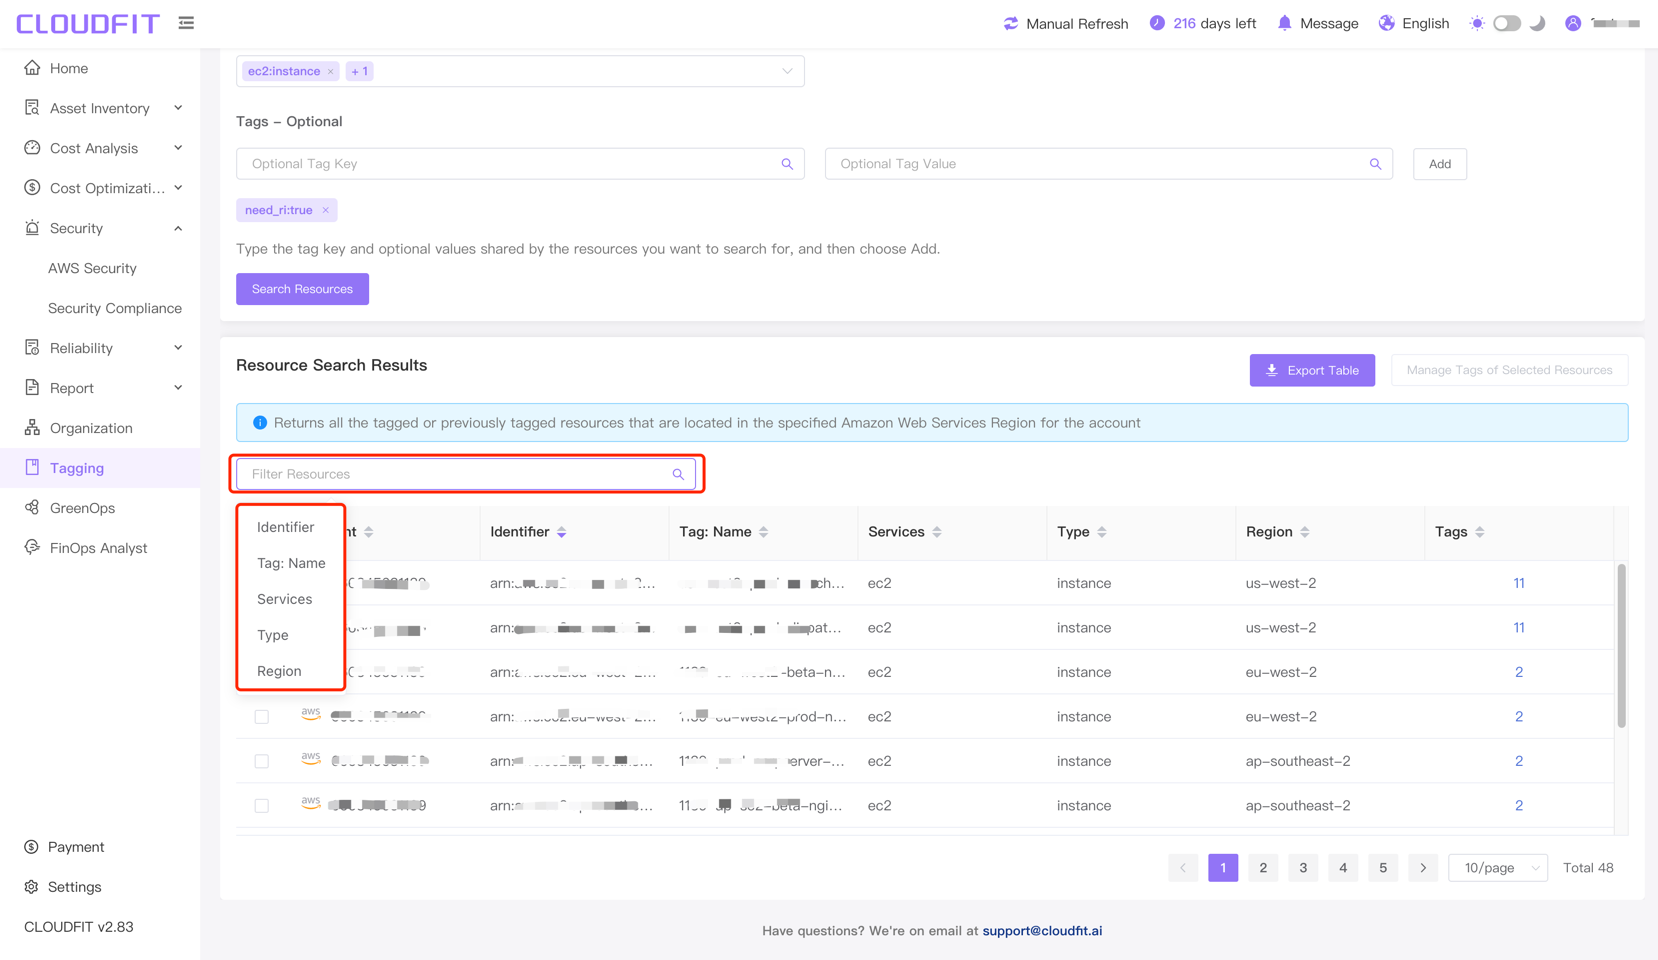
Filter Resources
As shown below:
Export Resources to Excel
Click Export Table on the right, choose Export All Tags or Export Only Visible Tag Columns to successfully export, as shown below:

Manage Tags for Selected Resources
Select the resources to manage -> Click Manage Tags for Selected Resources, as shown below:
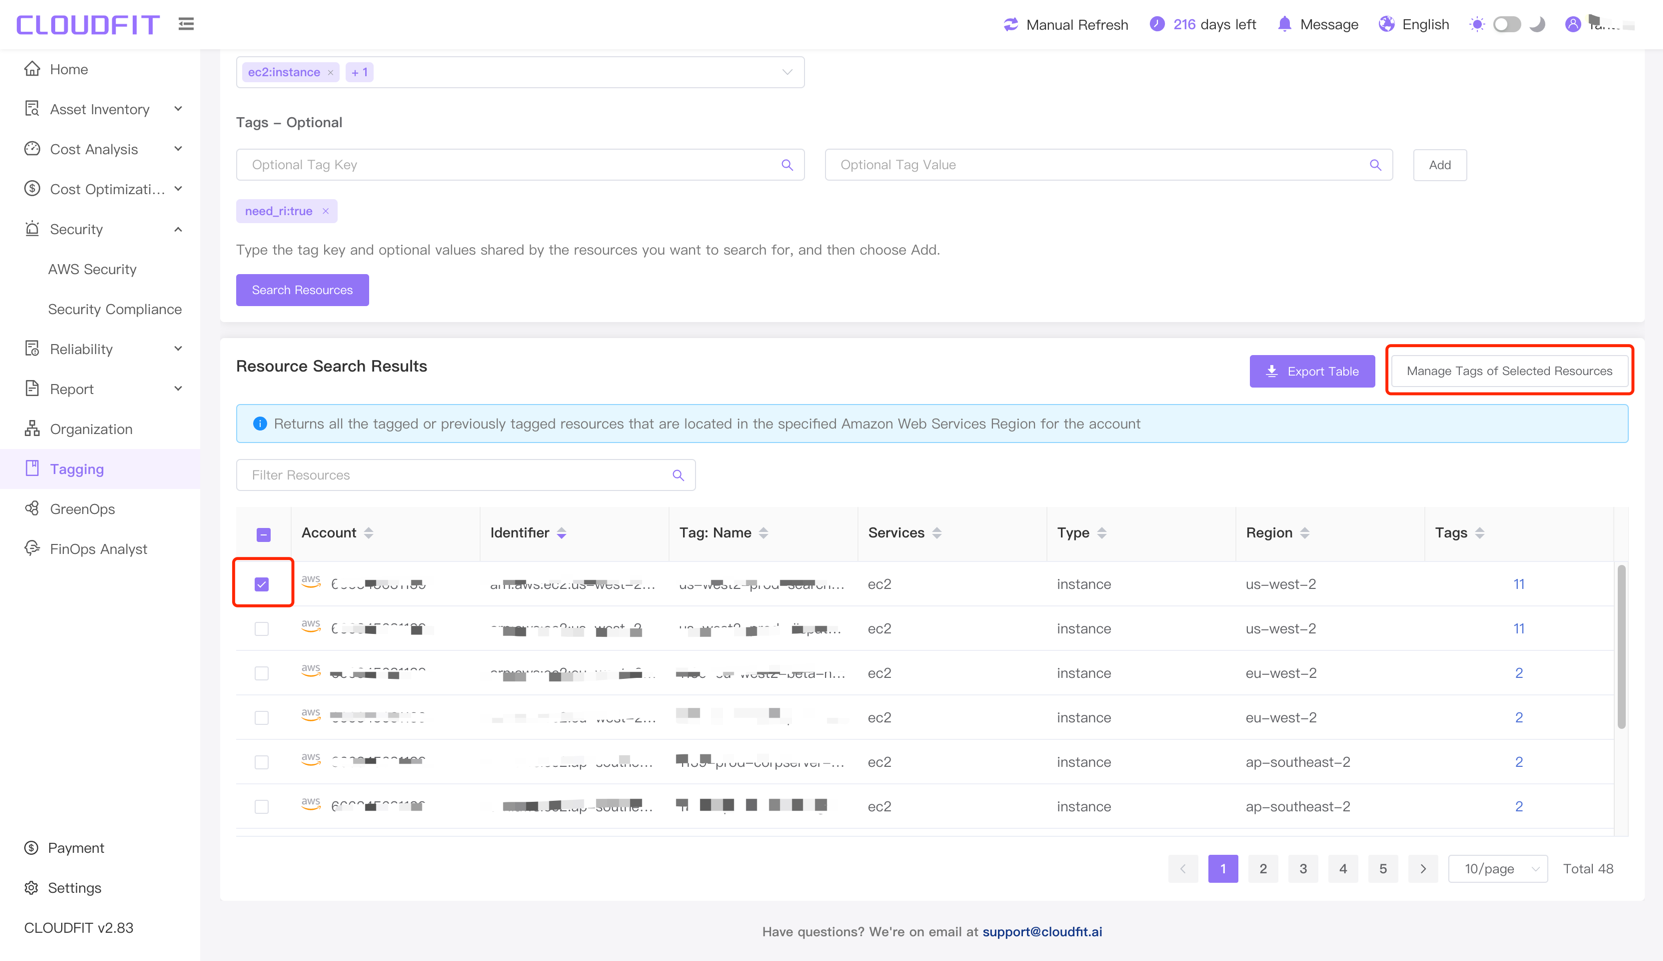
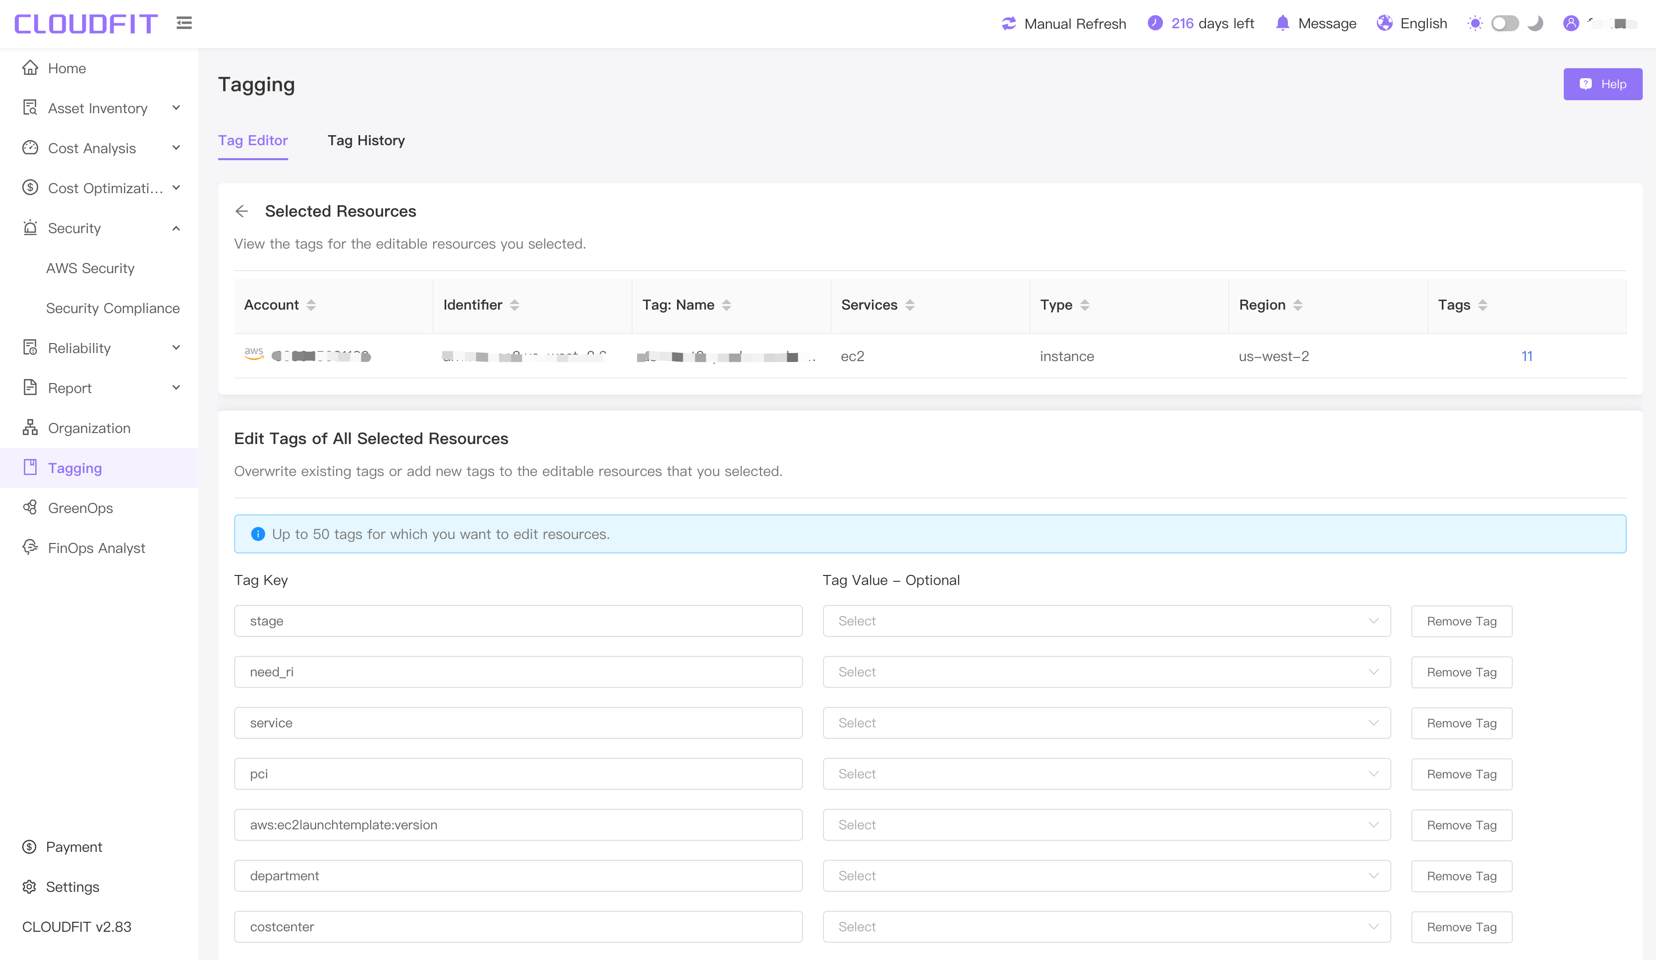
After clicking Manage Tags for Selected Resources, enter the manage resources page, as shown below:
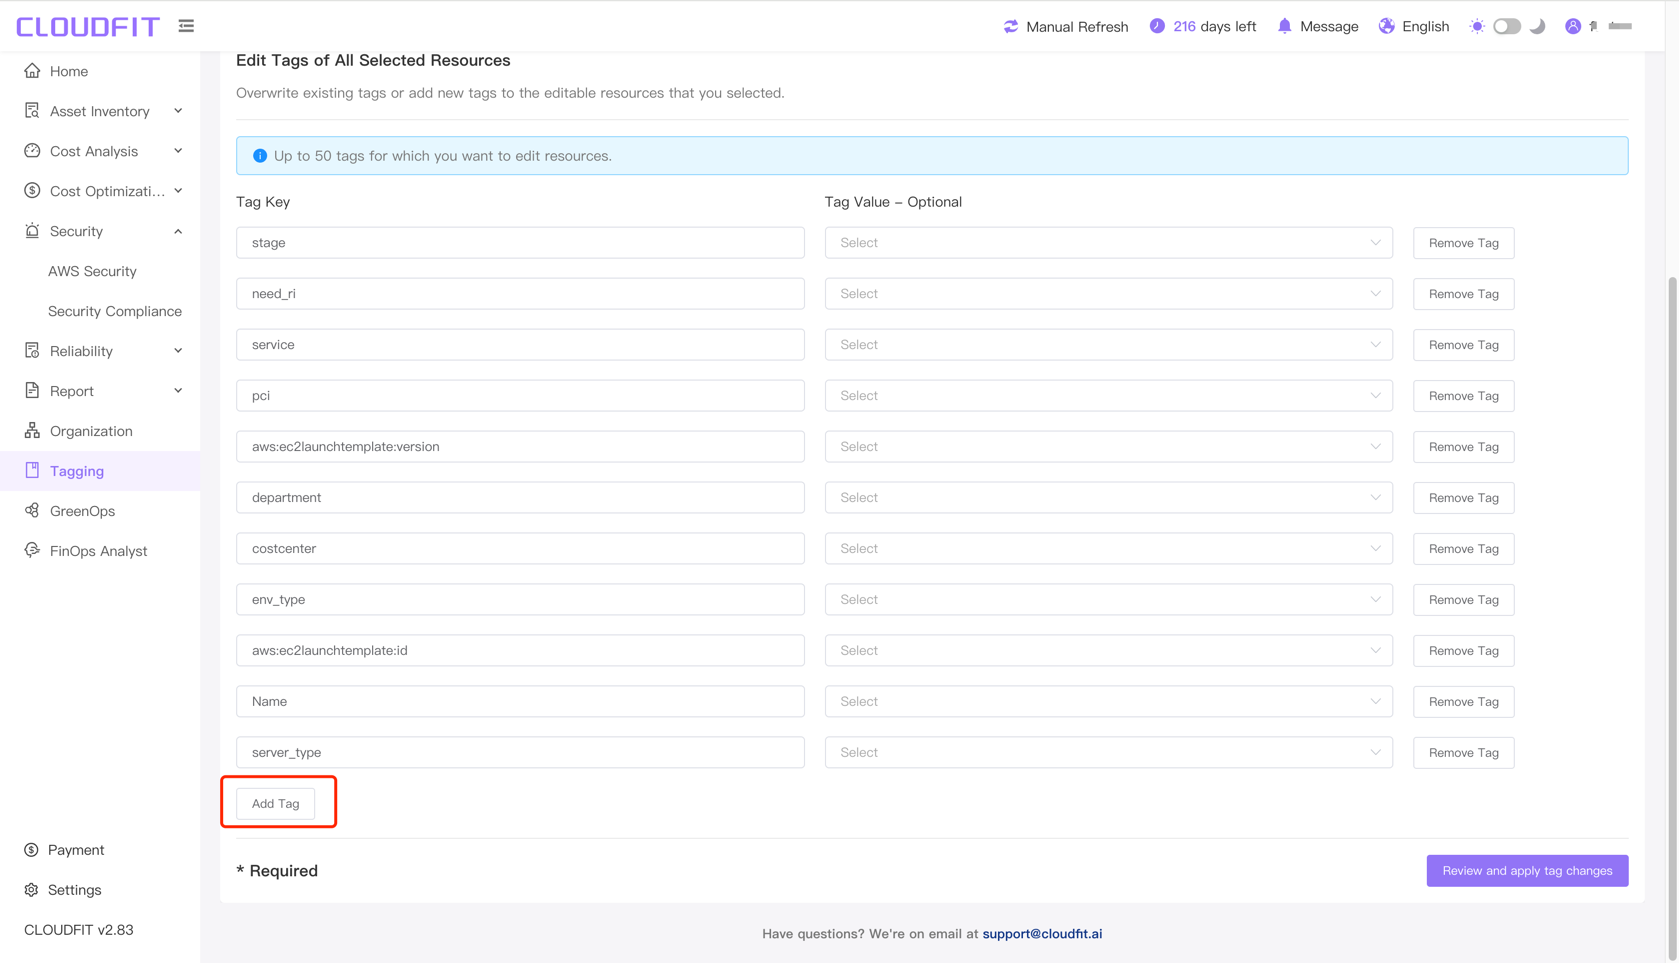
Add Tag
Click Add Tag, as shown below:
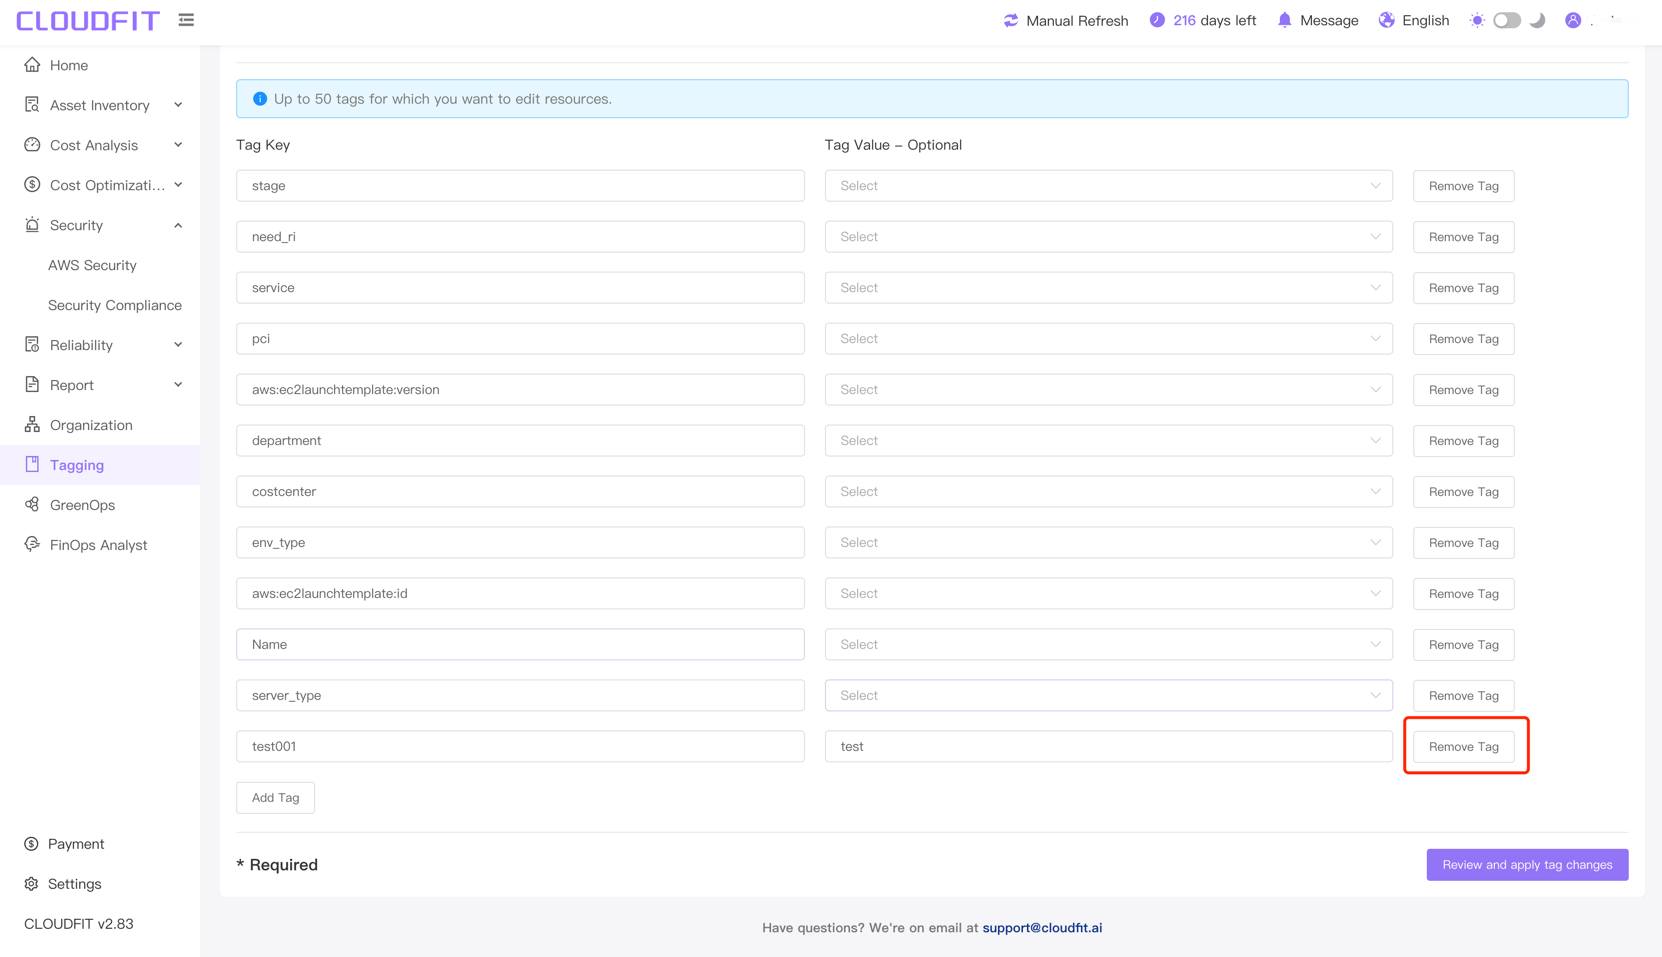
Remove Tag
Click Delete Tag, as shown below:
Review and Apply Tag Changes
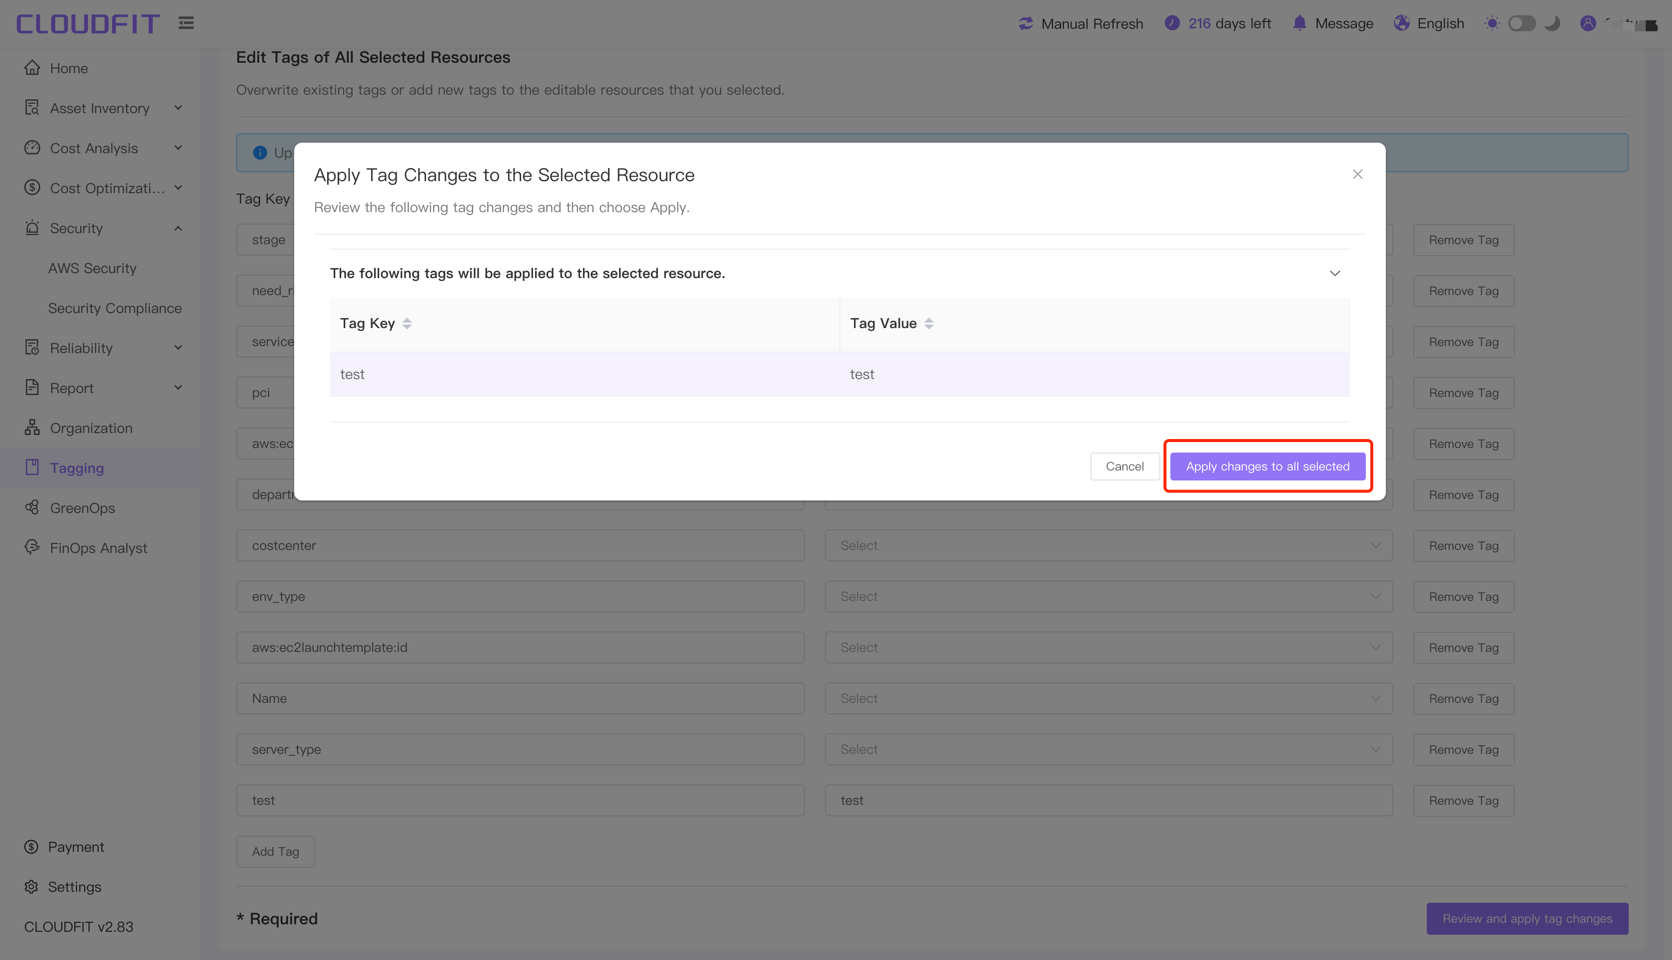
After editing tags, click Review and Apply Tag Changes in the lower right corner, as shown below:

Click Apply Changes to All Selected in the lower right corner, as shown below:
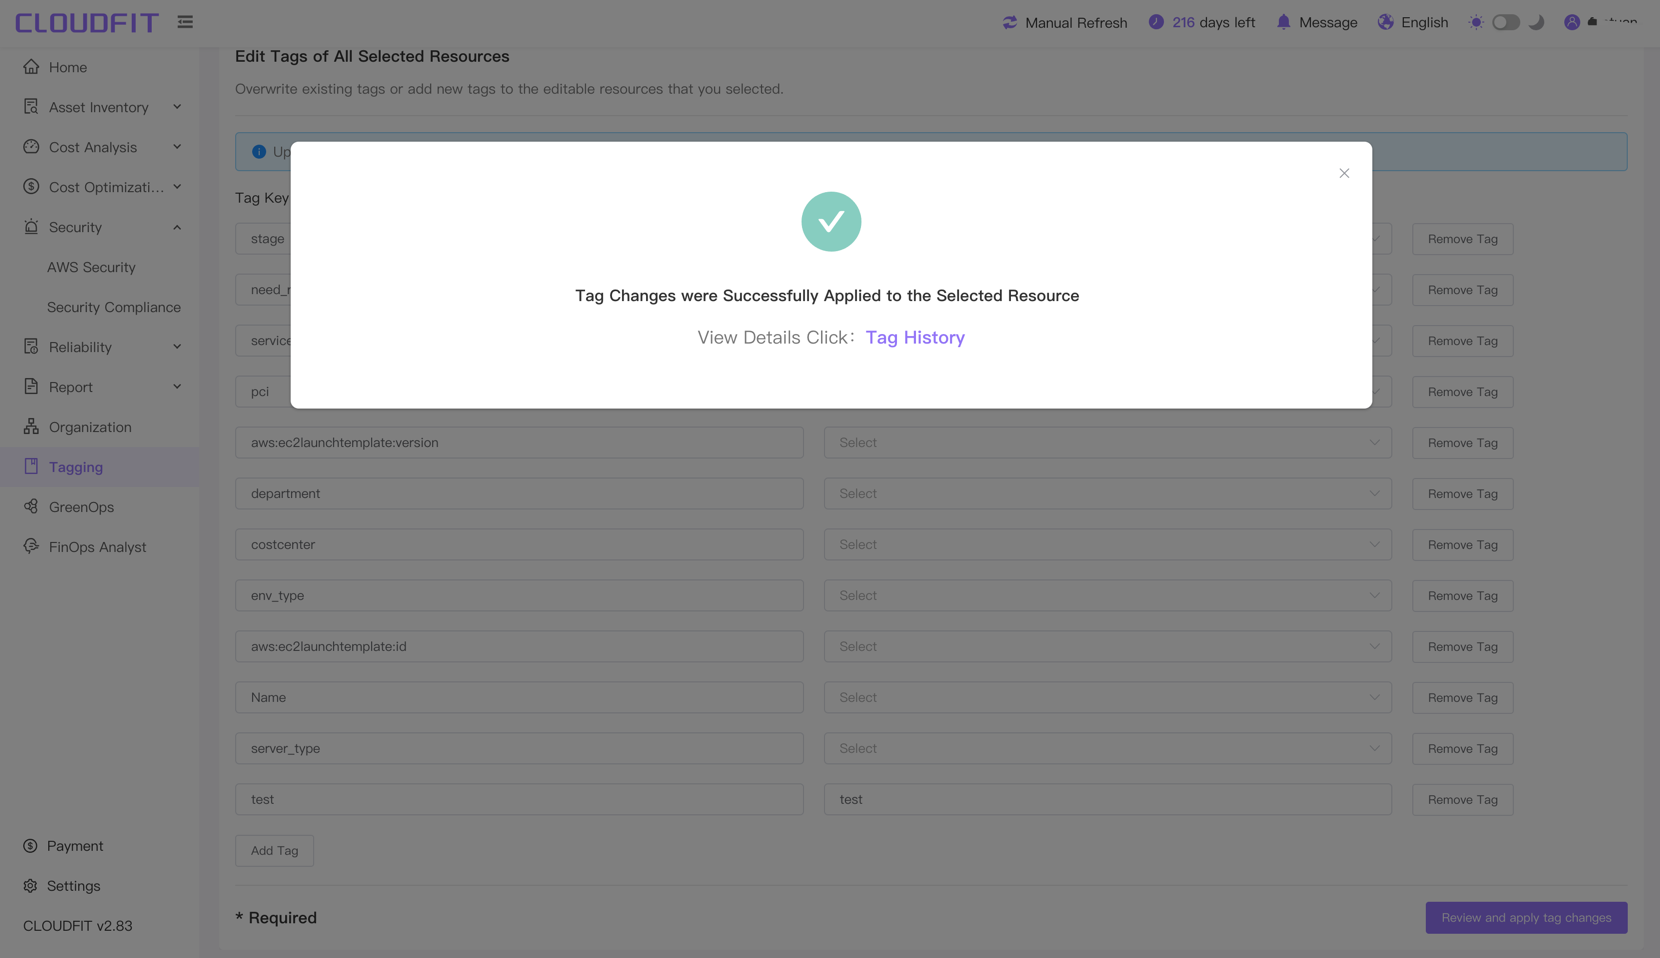
Changes completed, as shown below:
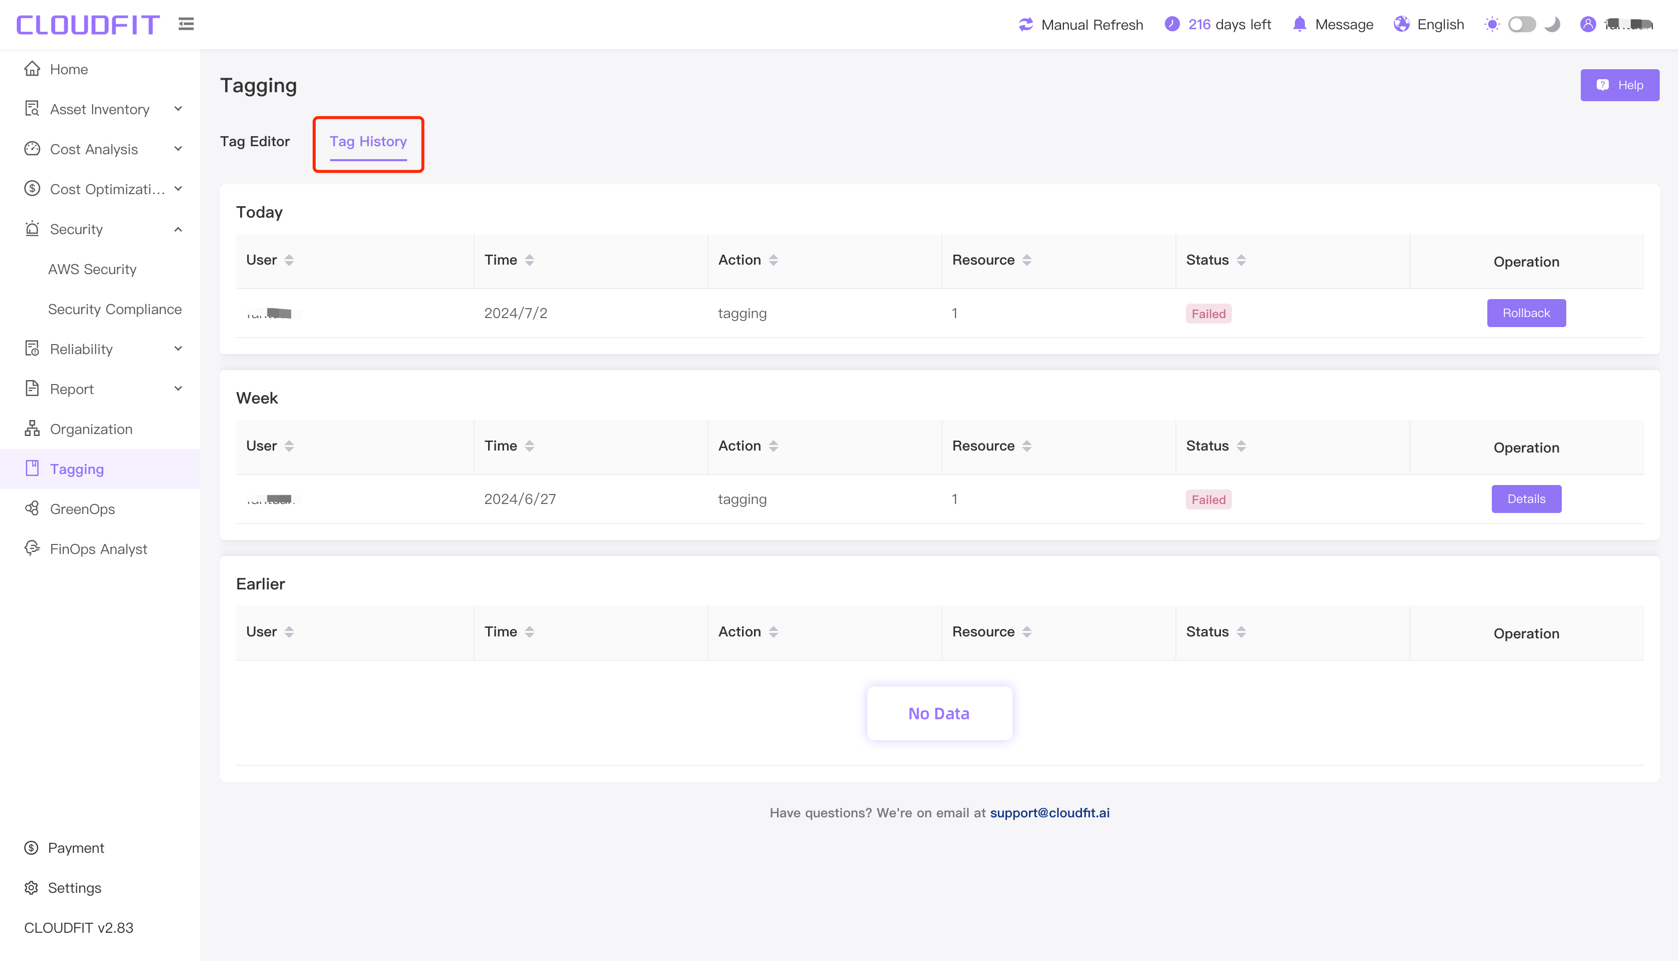
Tag History
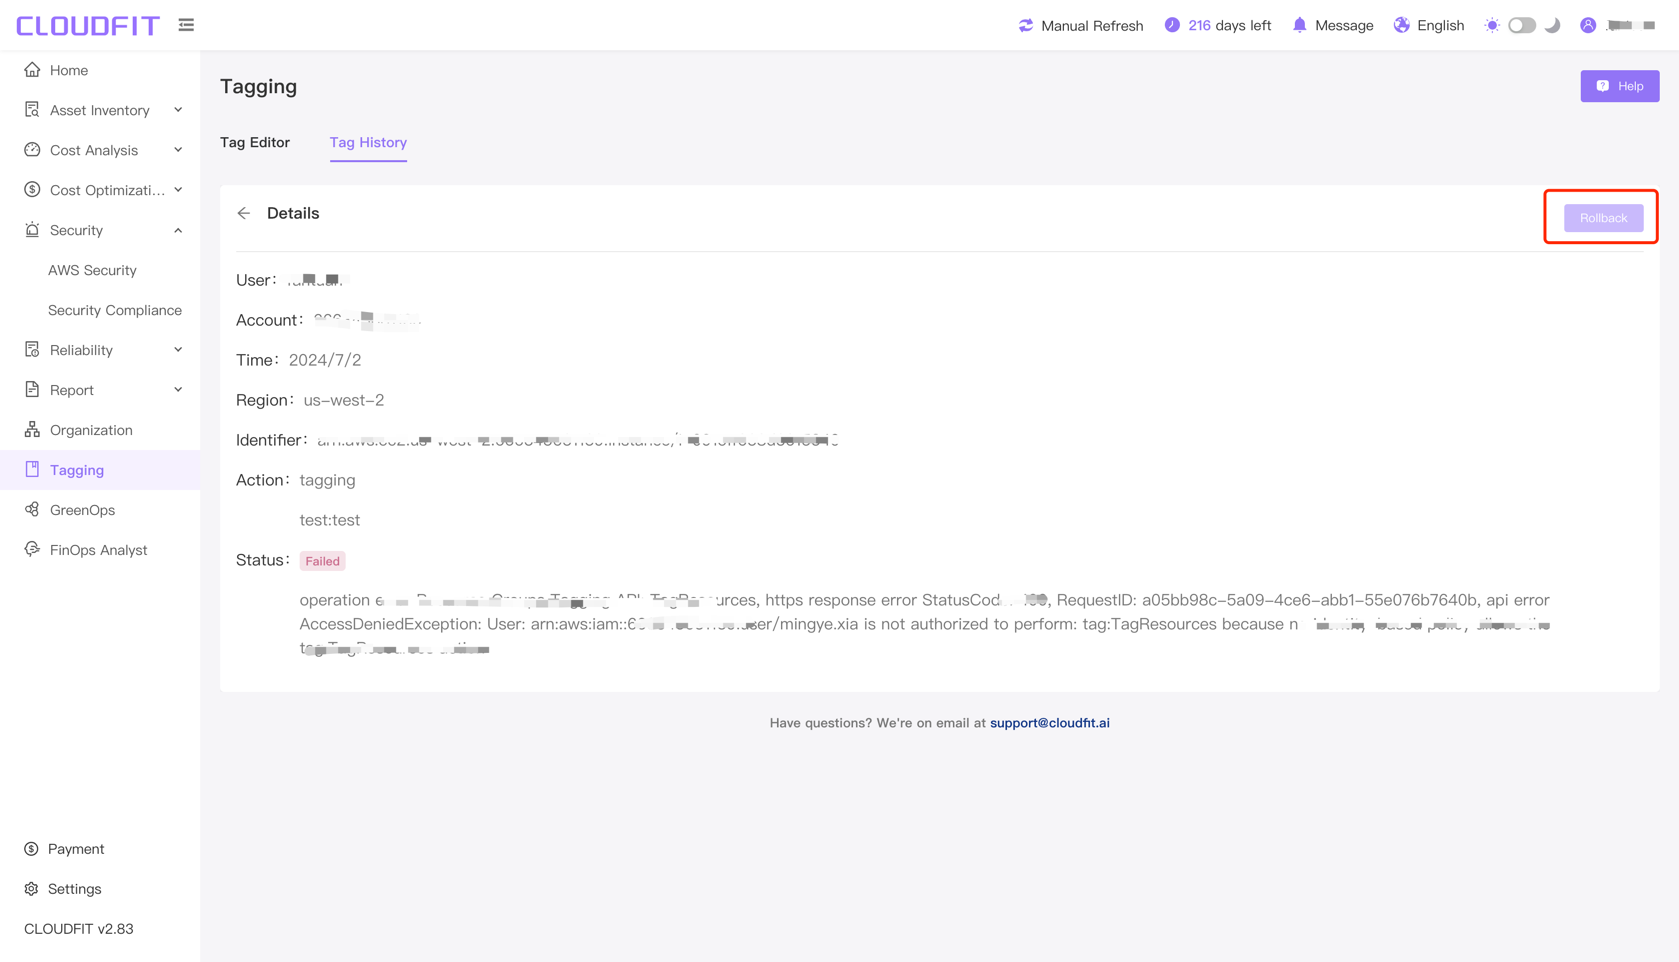
Click Tag History to enter the Tag History page, as shown below:
Rollback
TIP
Only the latest operation records support rollback.
Click Rollback, as shown below:

After clicking Rollback, enter the tag details page to be rolled back, click Rollback again, and the tag rollback will be successful, as shown below: