User Management
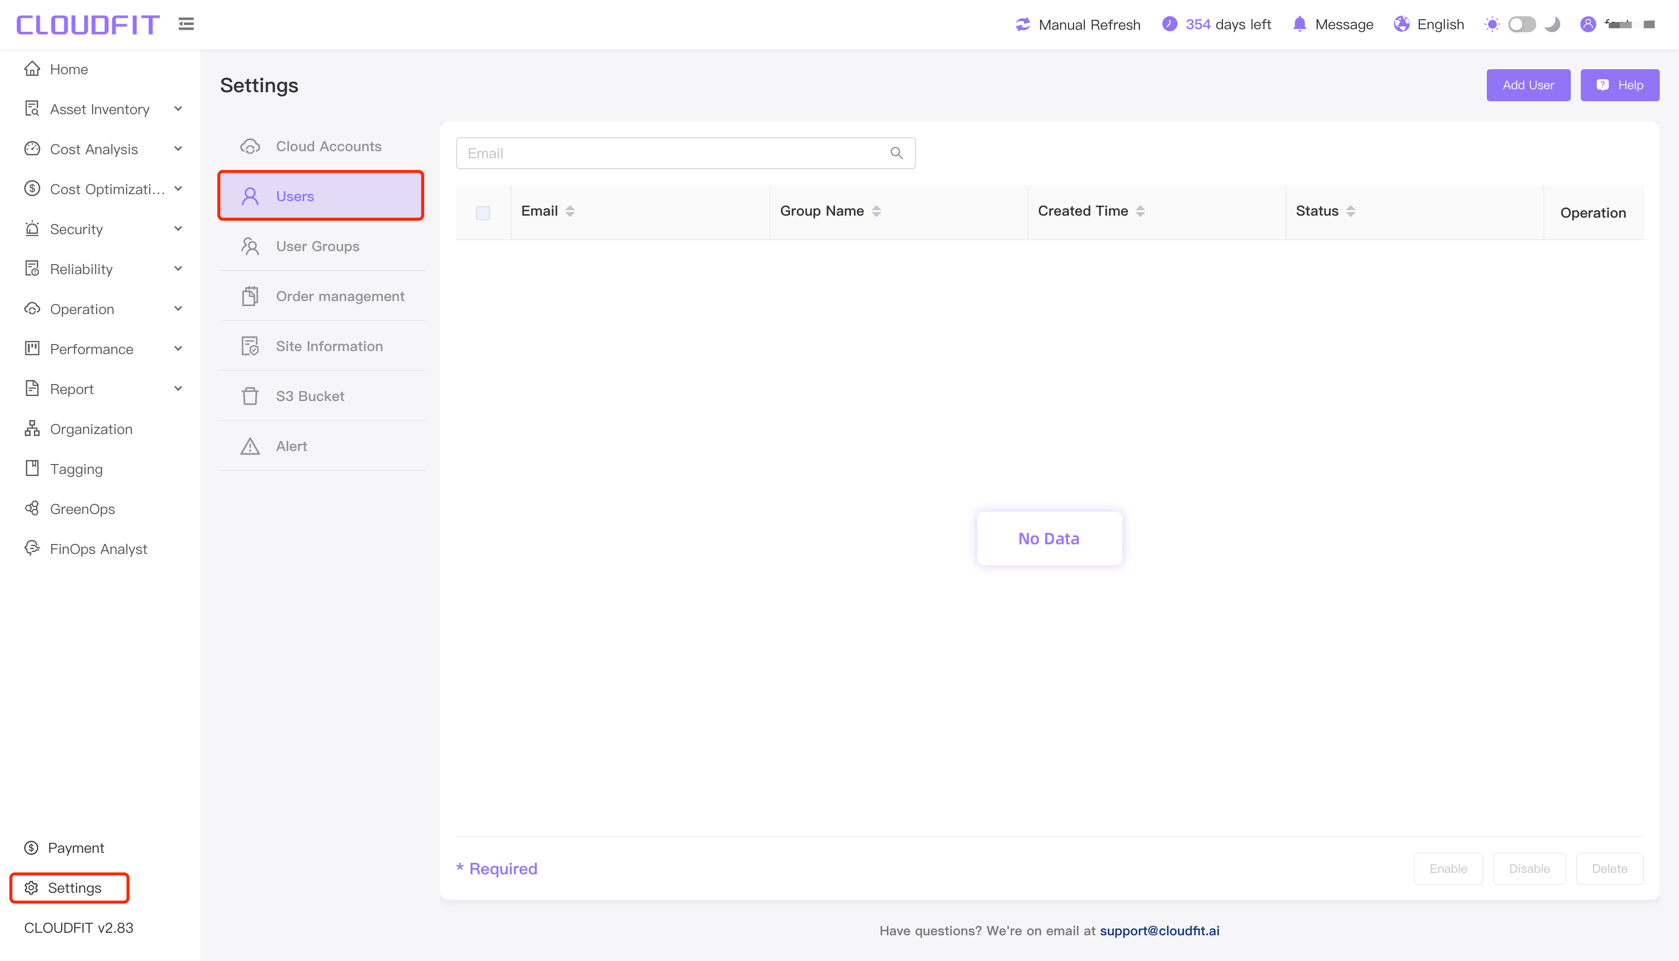
Click on Settings -> Users in the lower left corner to enter the user management page, as shown below:
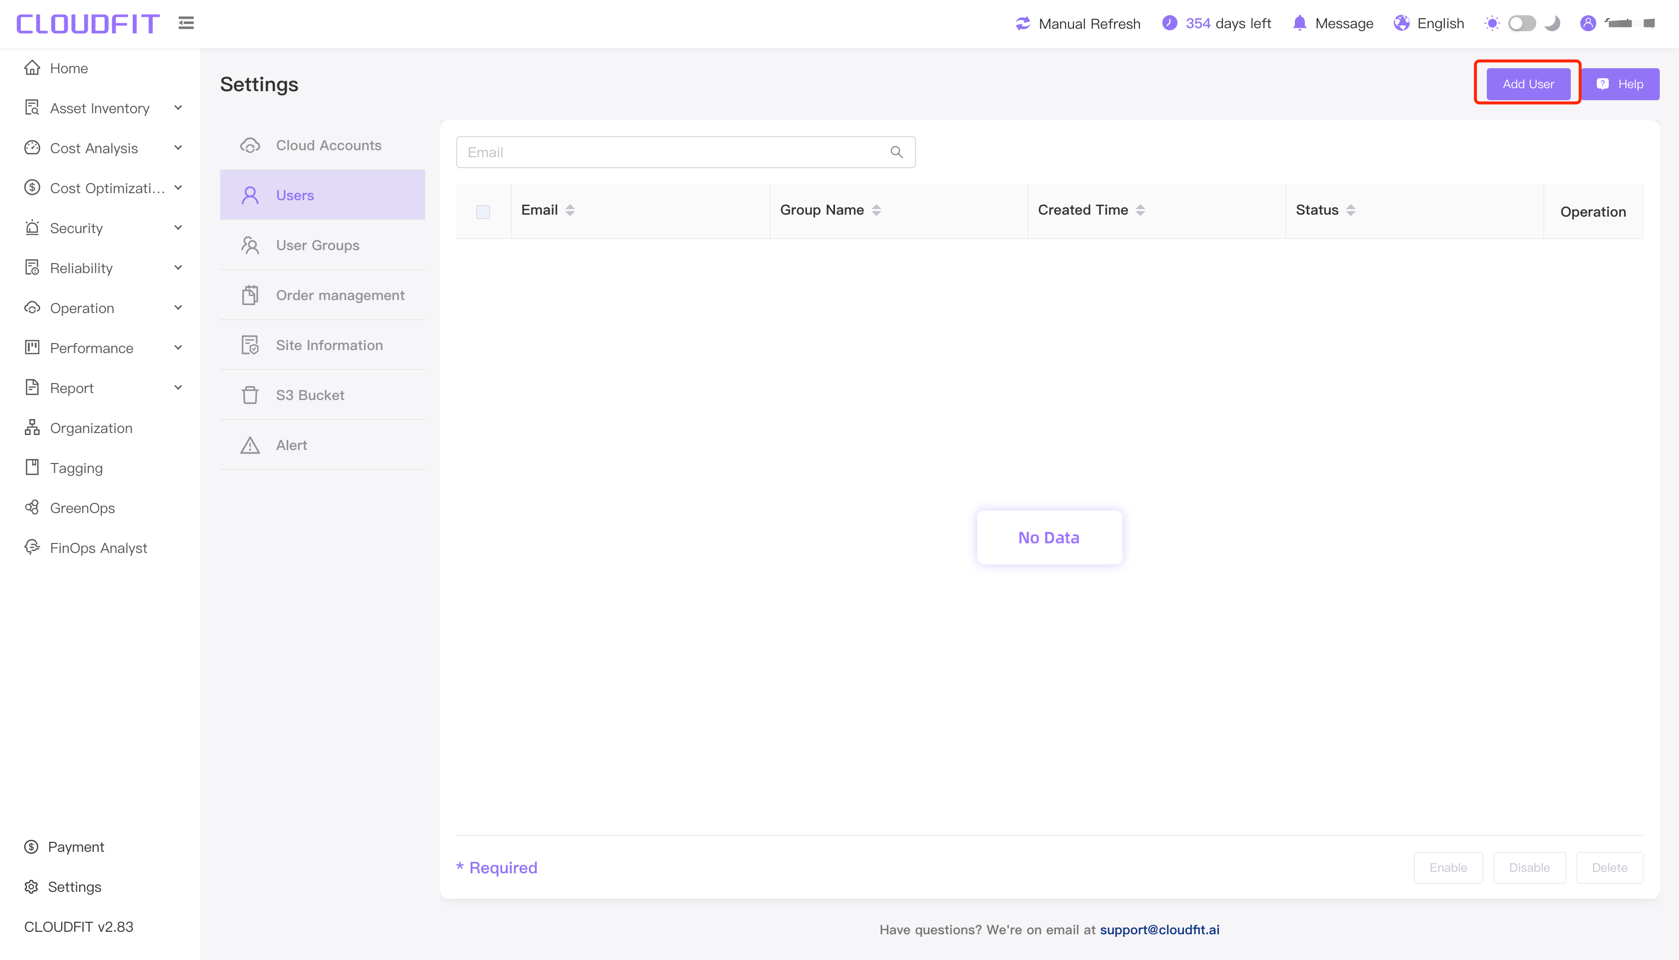
Add User
Click Add User in the upper right corner, as shown below:
After clicking Add User, you will enter the new user information page. Enter the user information as shown below:
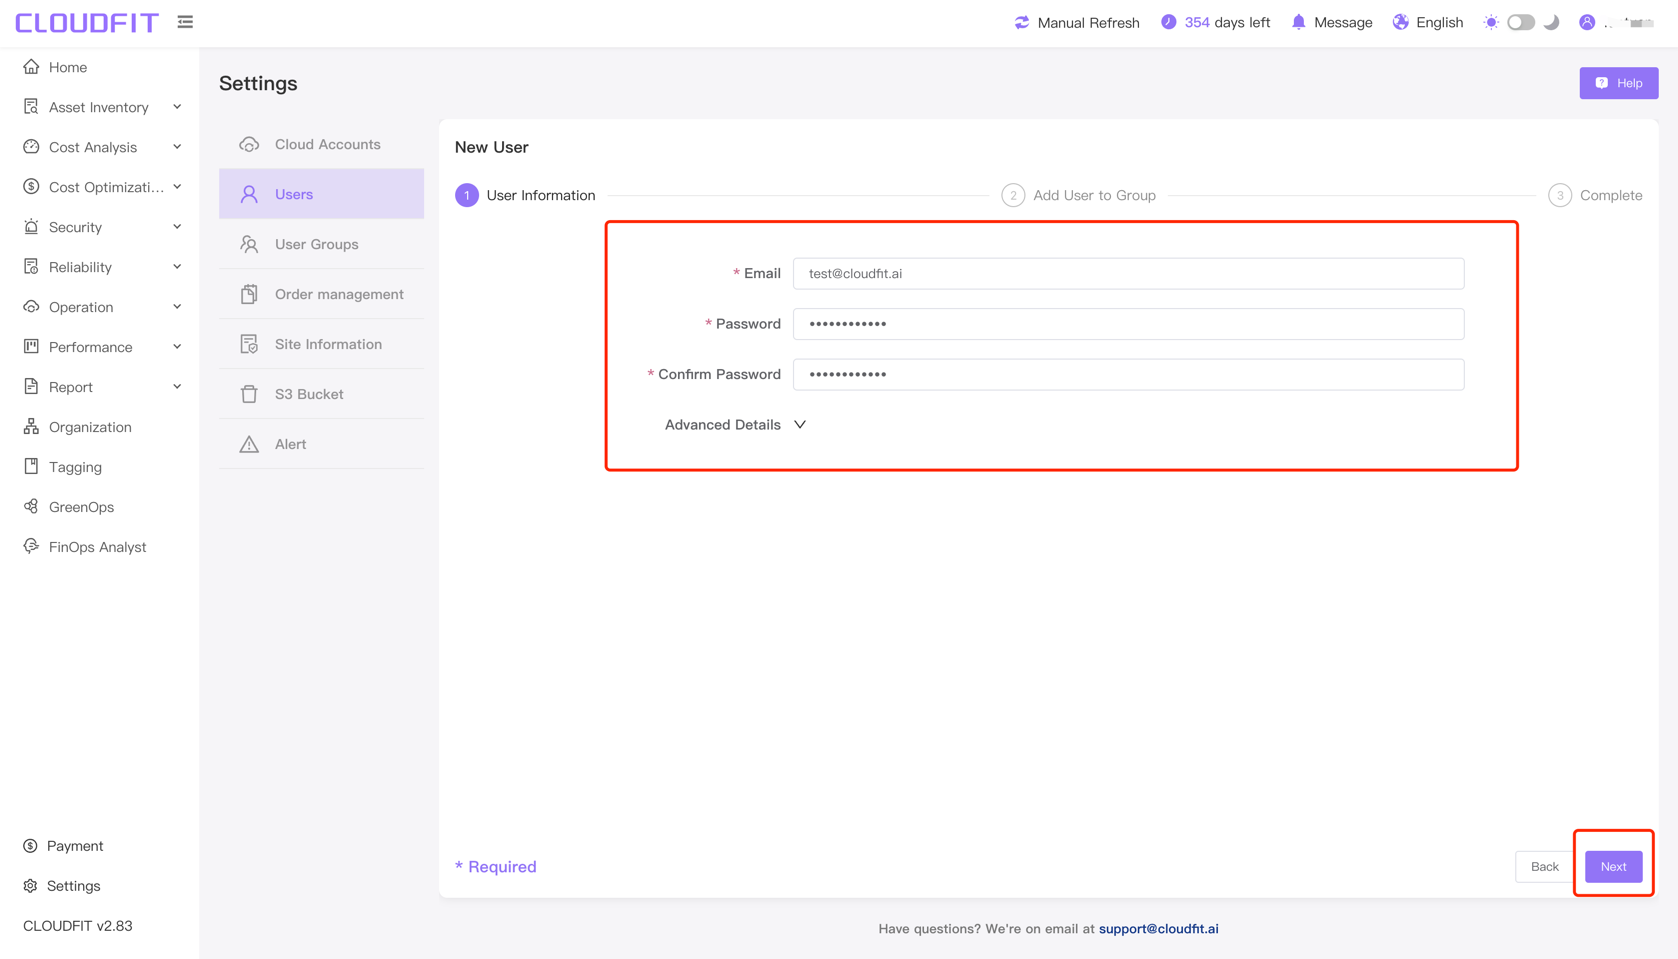
Click Next in the lower right corner to proceed to the page for adding the user to a group, as shown below:
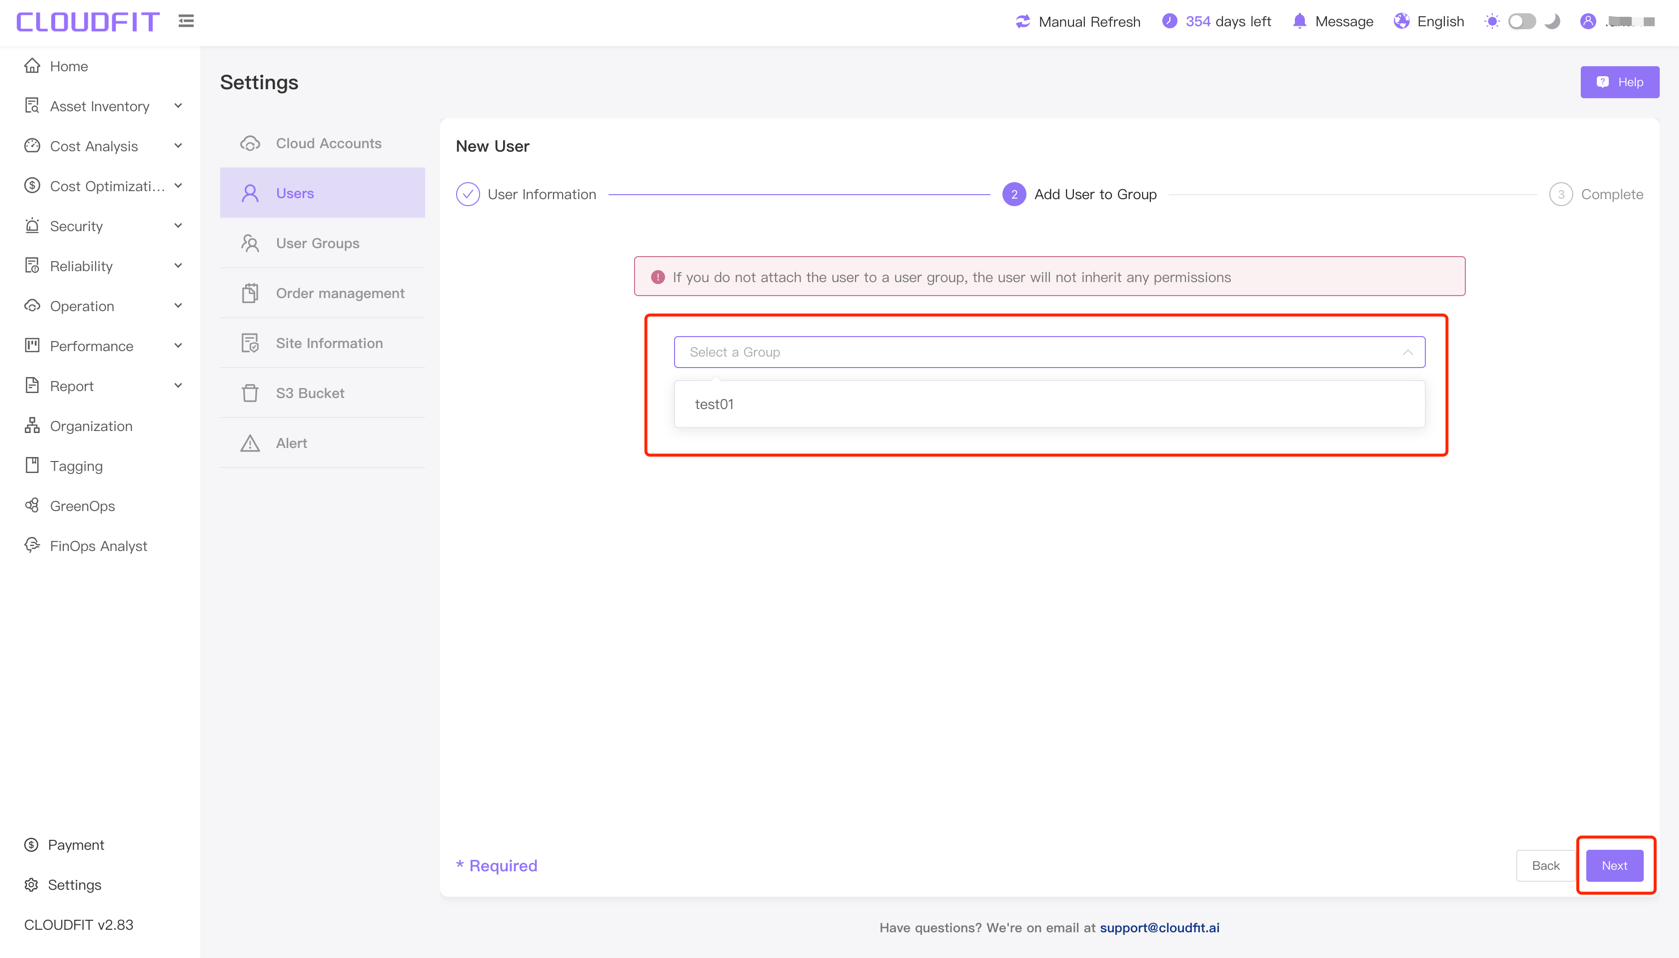
TIP
If you do not attach the user to a user group, the user will not inherit any permissions.
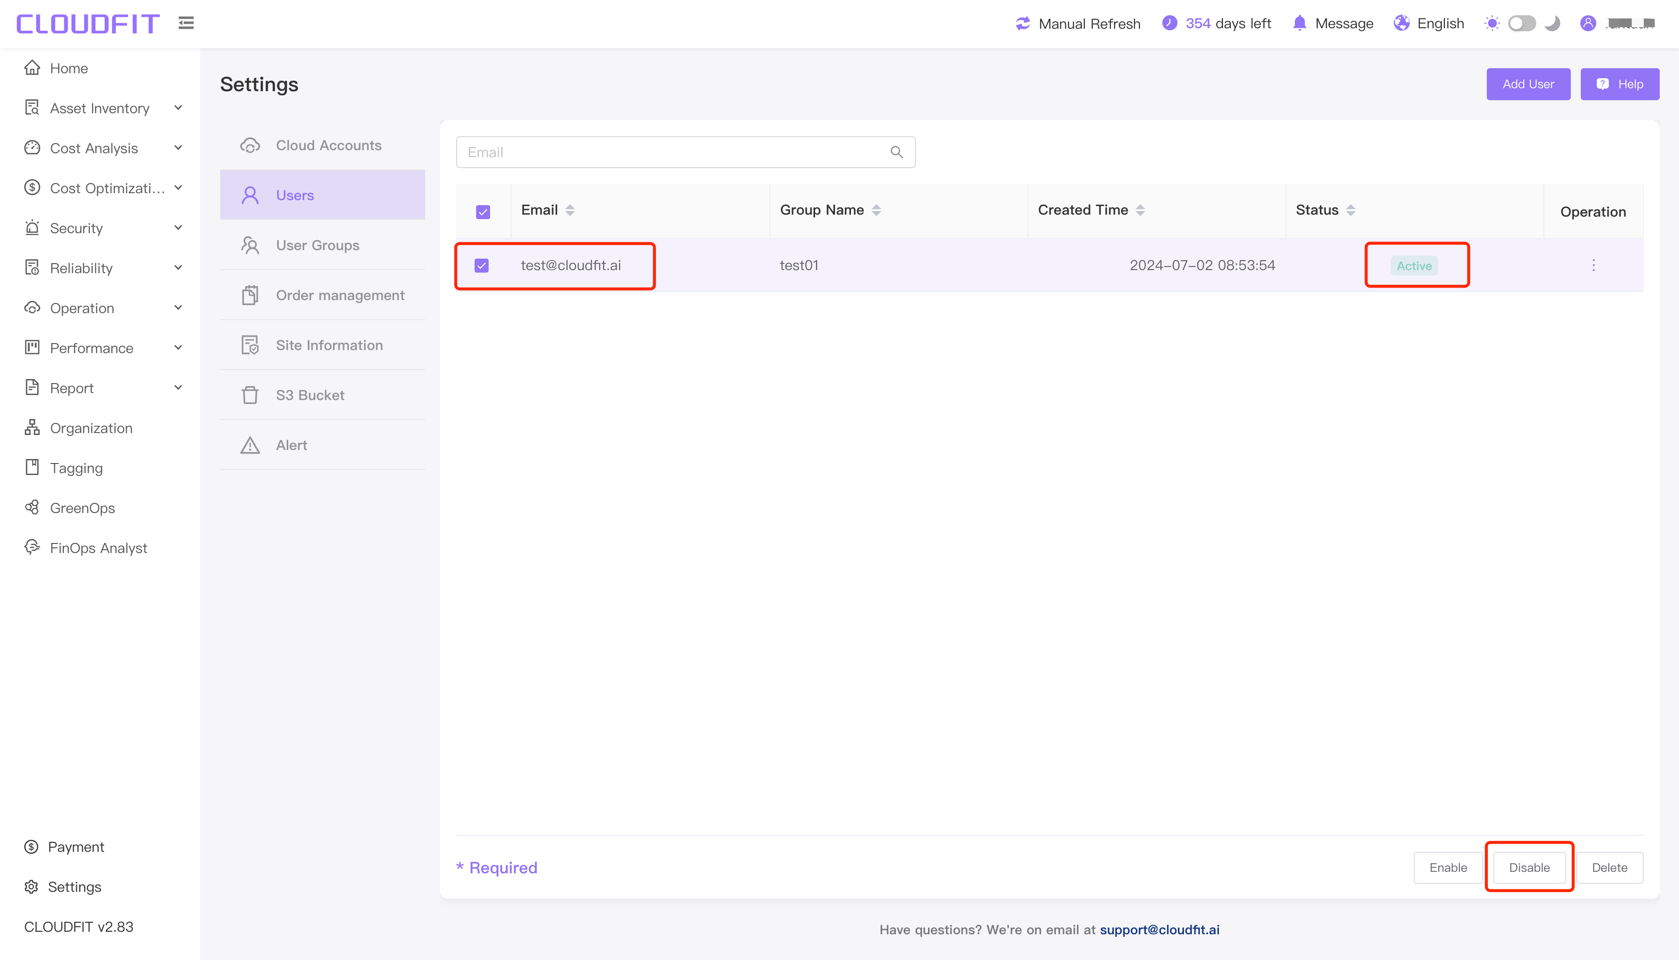
Disable User
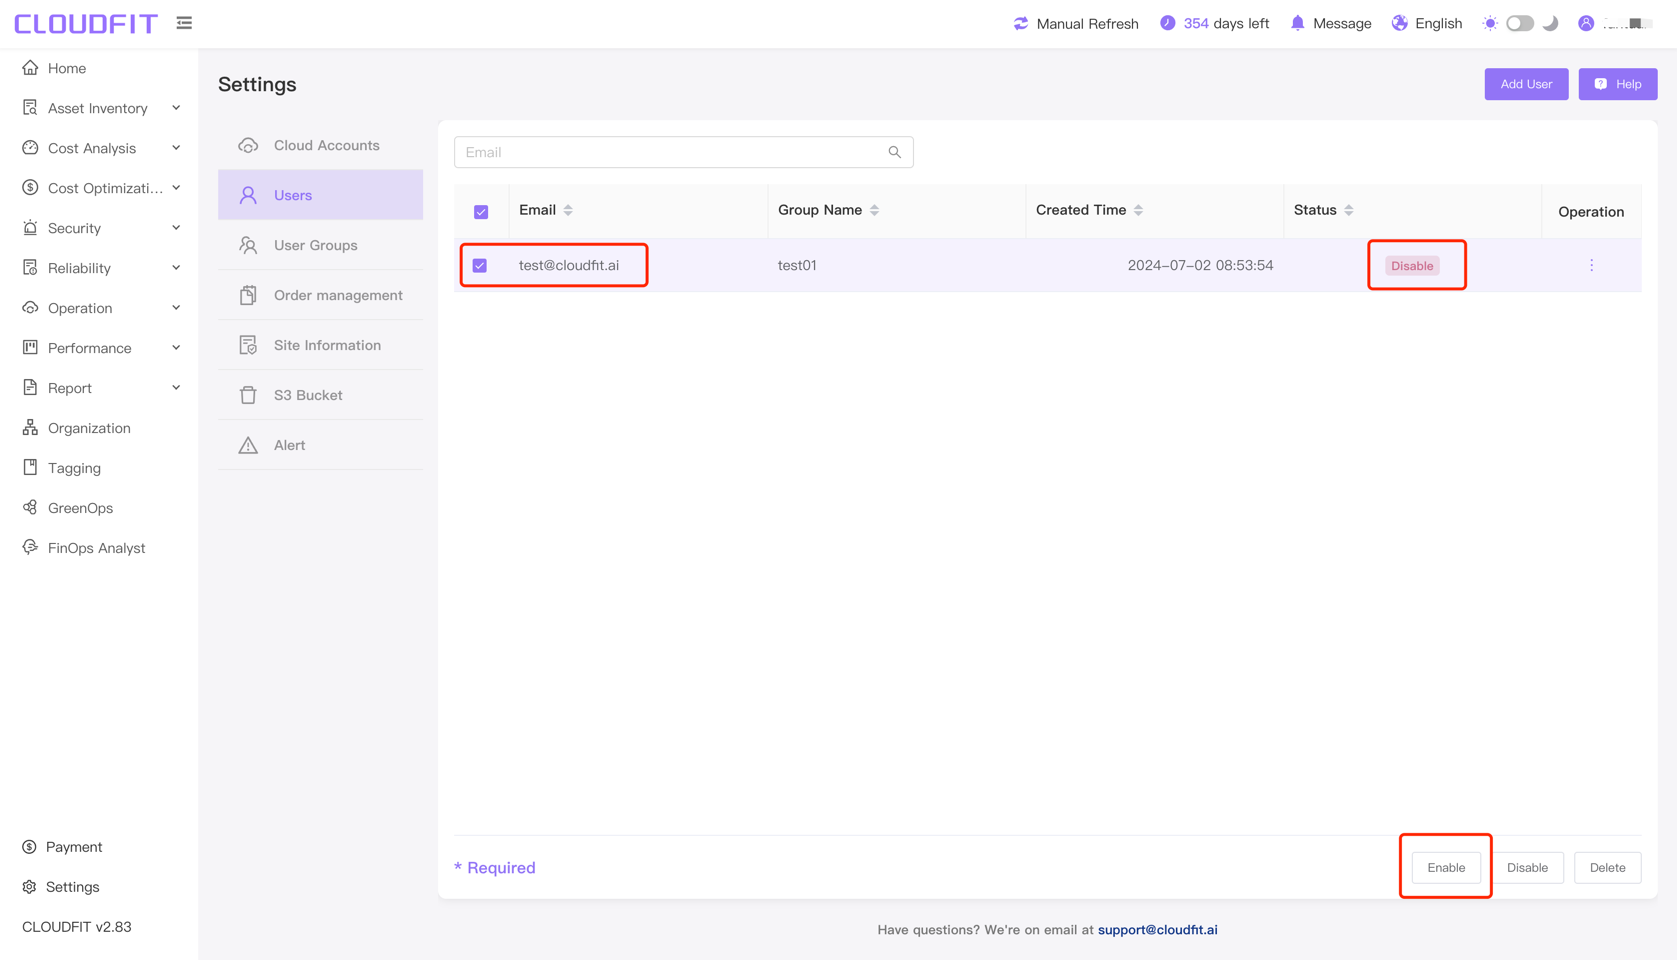
Select the user to be disabled -> Click Disable, as shown below:
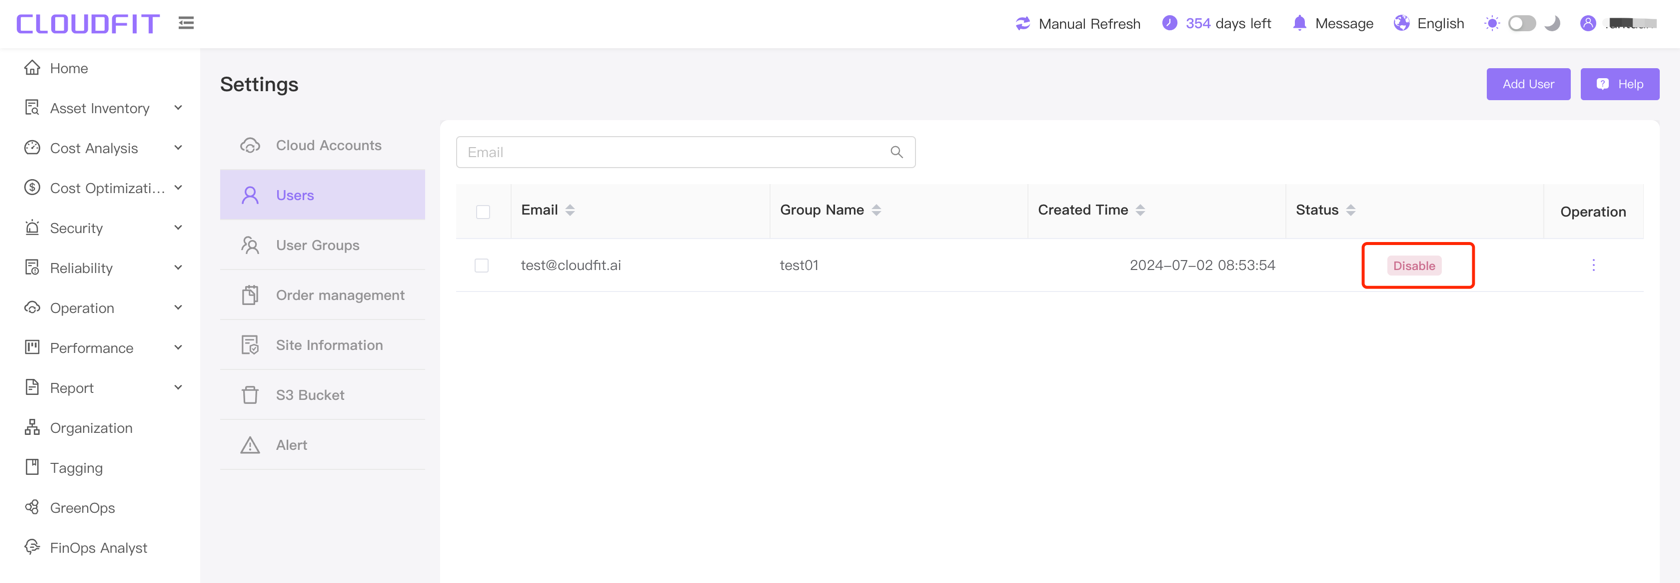
After a successful disable, the status changes to "Disable", as shown below:
Enable User
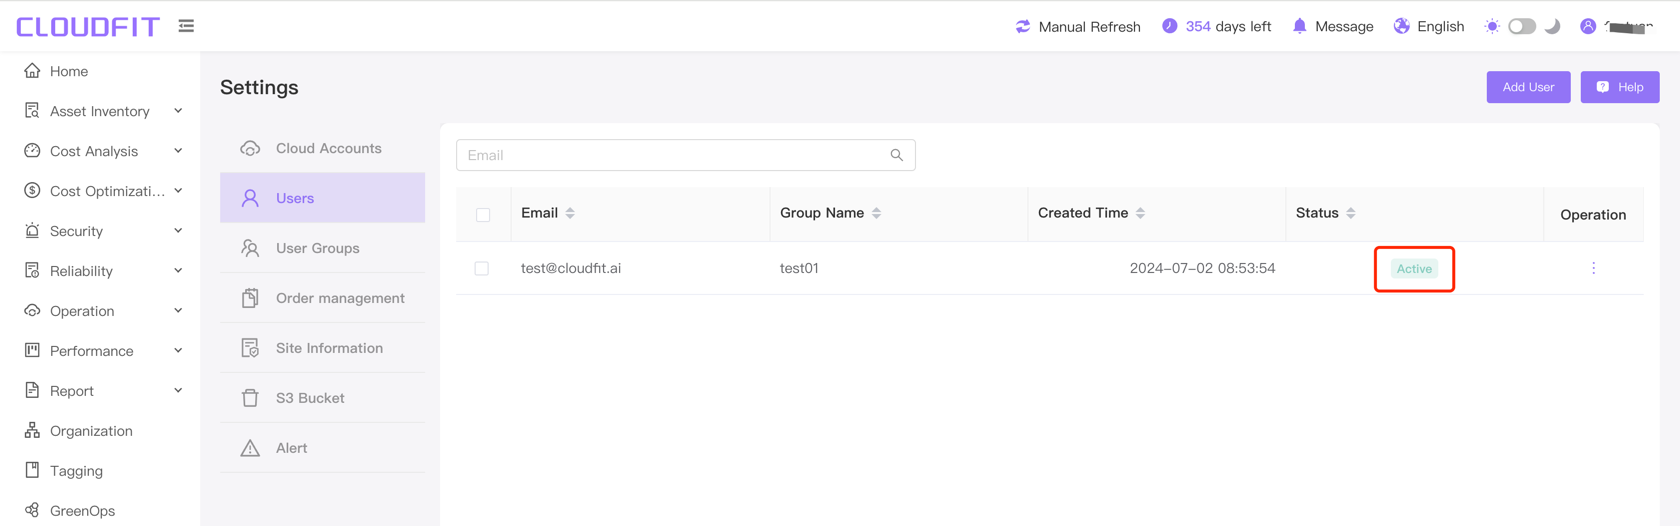
Select the user to be enabled -> Click the Enable button, as shown below:
After a successful enable, the status changes to "Active", as shown below:
Delete User
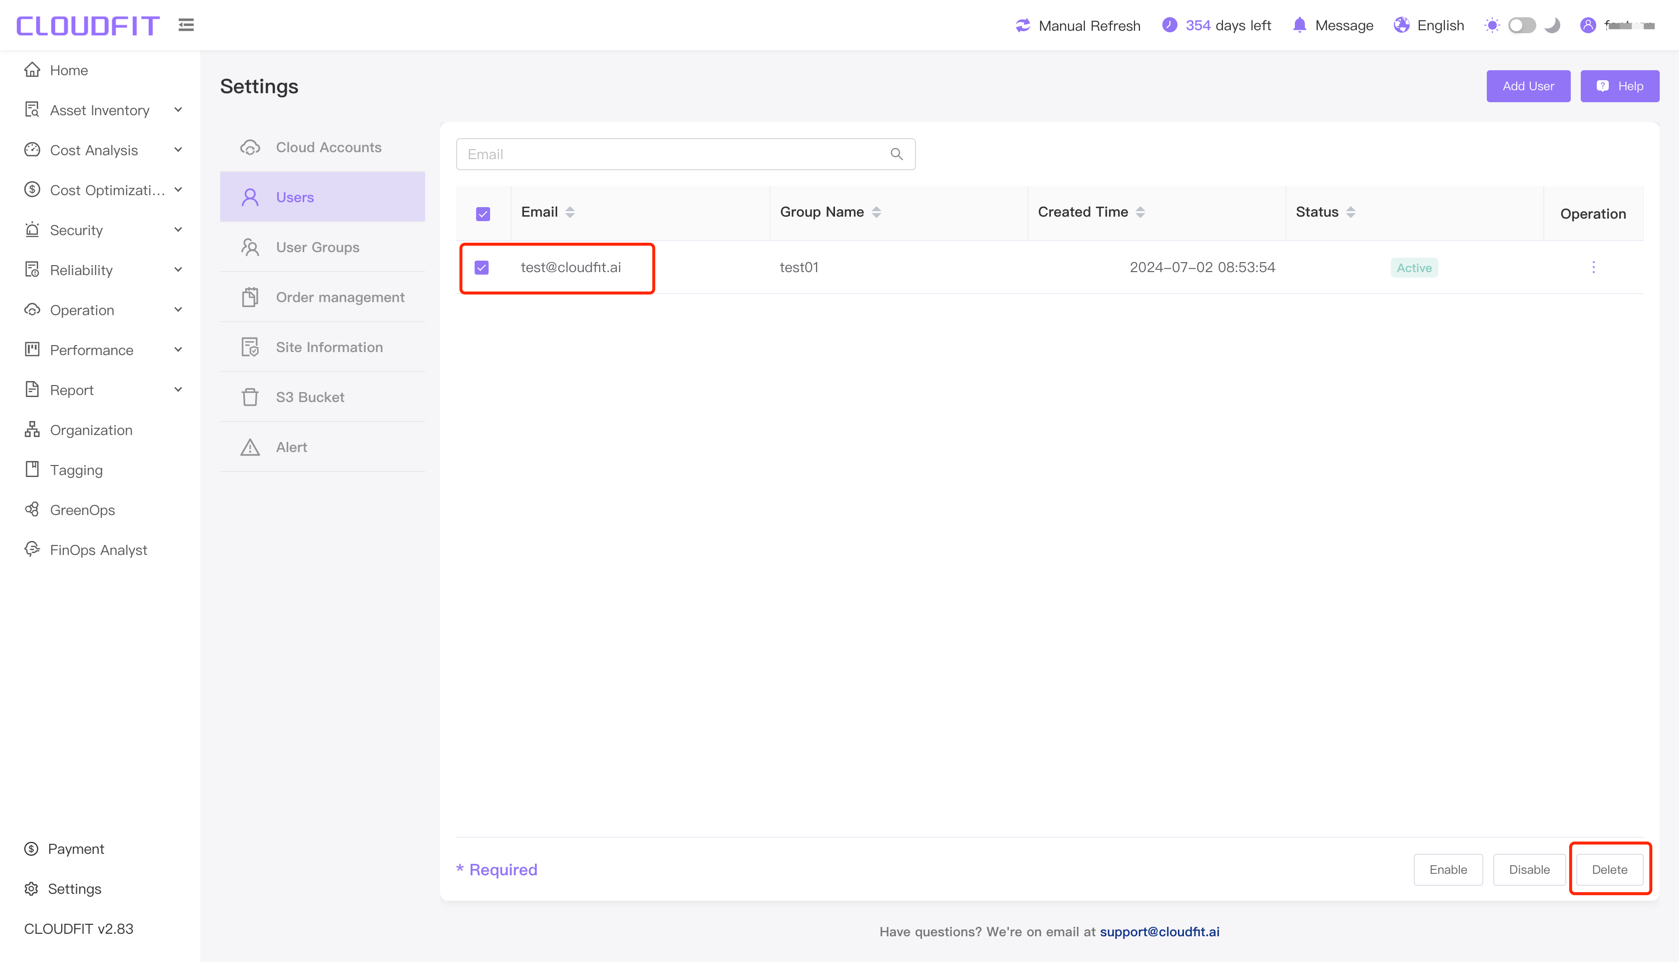
Select the user to be deleted -> Click the Delete button to successfully delete, as shown below:
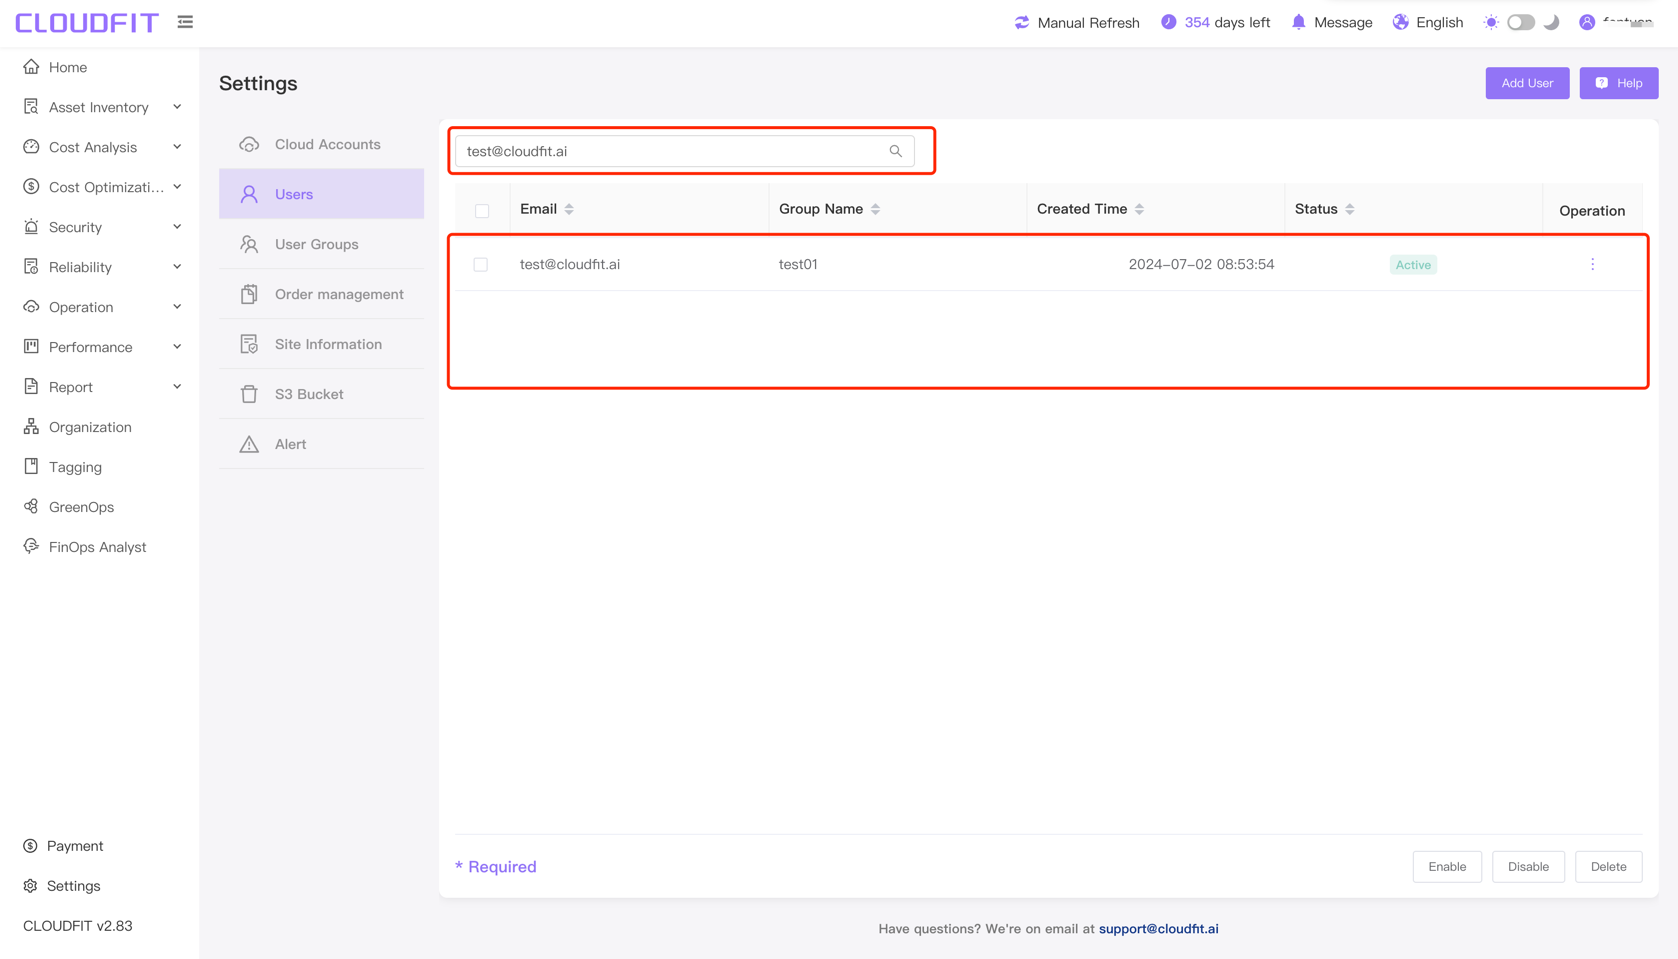
Precise Query
Click the email input box, enter the user's email, and you can precisely query the user, as shown below: